This easy tissue paper canvas art tutorial may contain affiliate links.
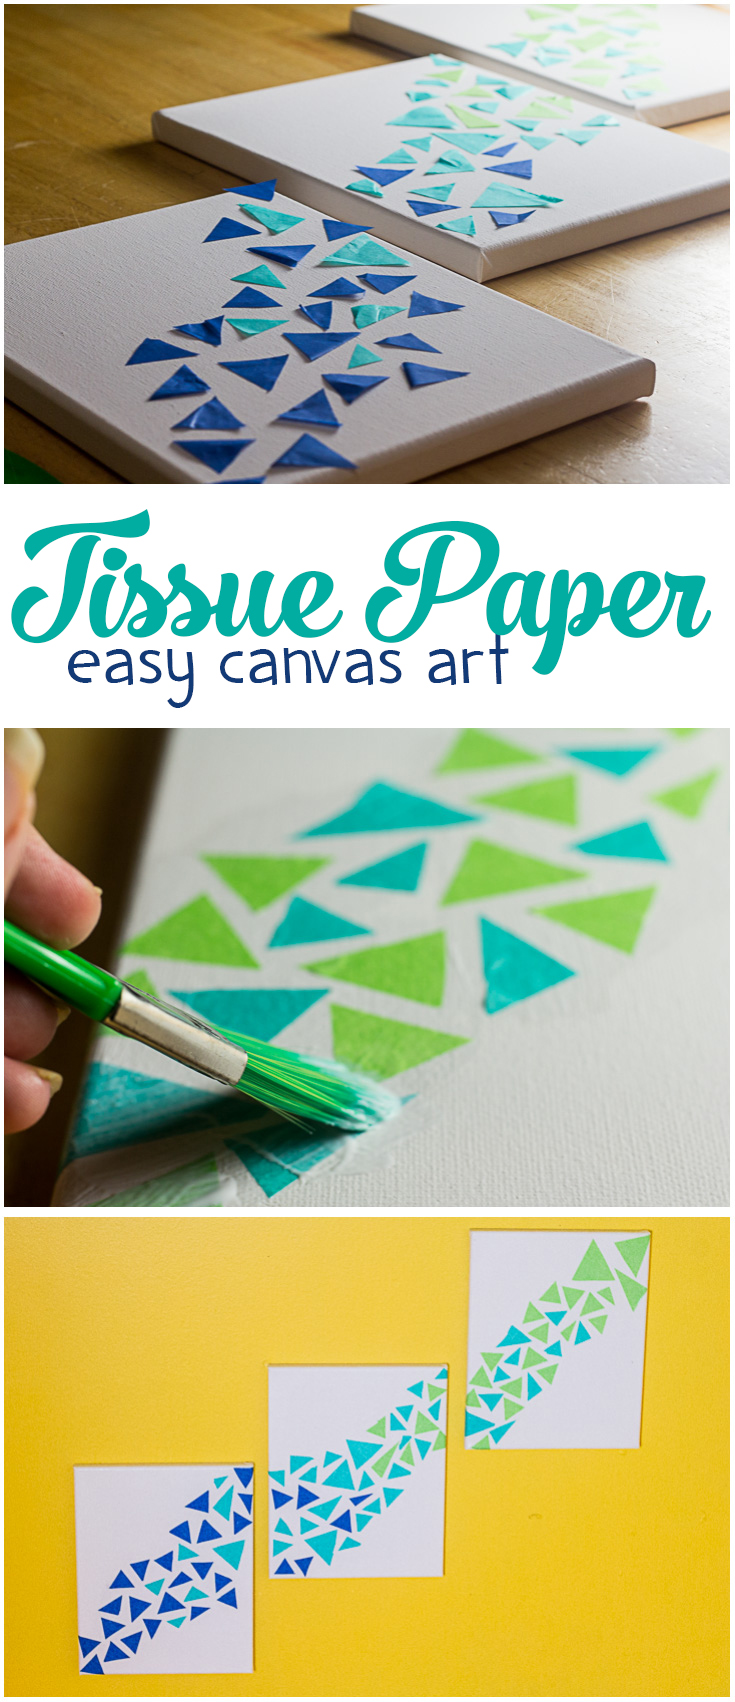
I am all for an easy project that makes my home look beautiful, and if you’ve been reading for awhile, you know I love a great revolving door of fun artwork on my walls. So when it came time to replace the artwork on one wall in particular, I wanted to go in a totally different direction than the art that was previously there! This delightful canvas art reminds me of mermaid scales, but depending on the color, shape, and positioning of your tissue paper, you can make it anything you’d like.
Tissue Paper Canvas Art Supplies
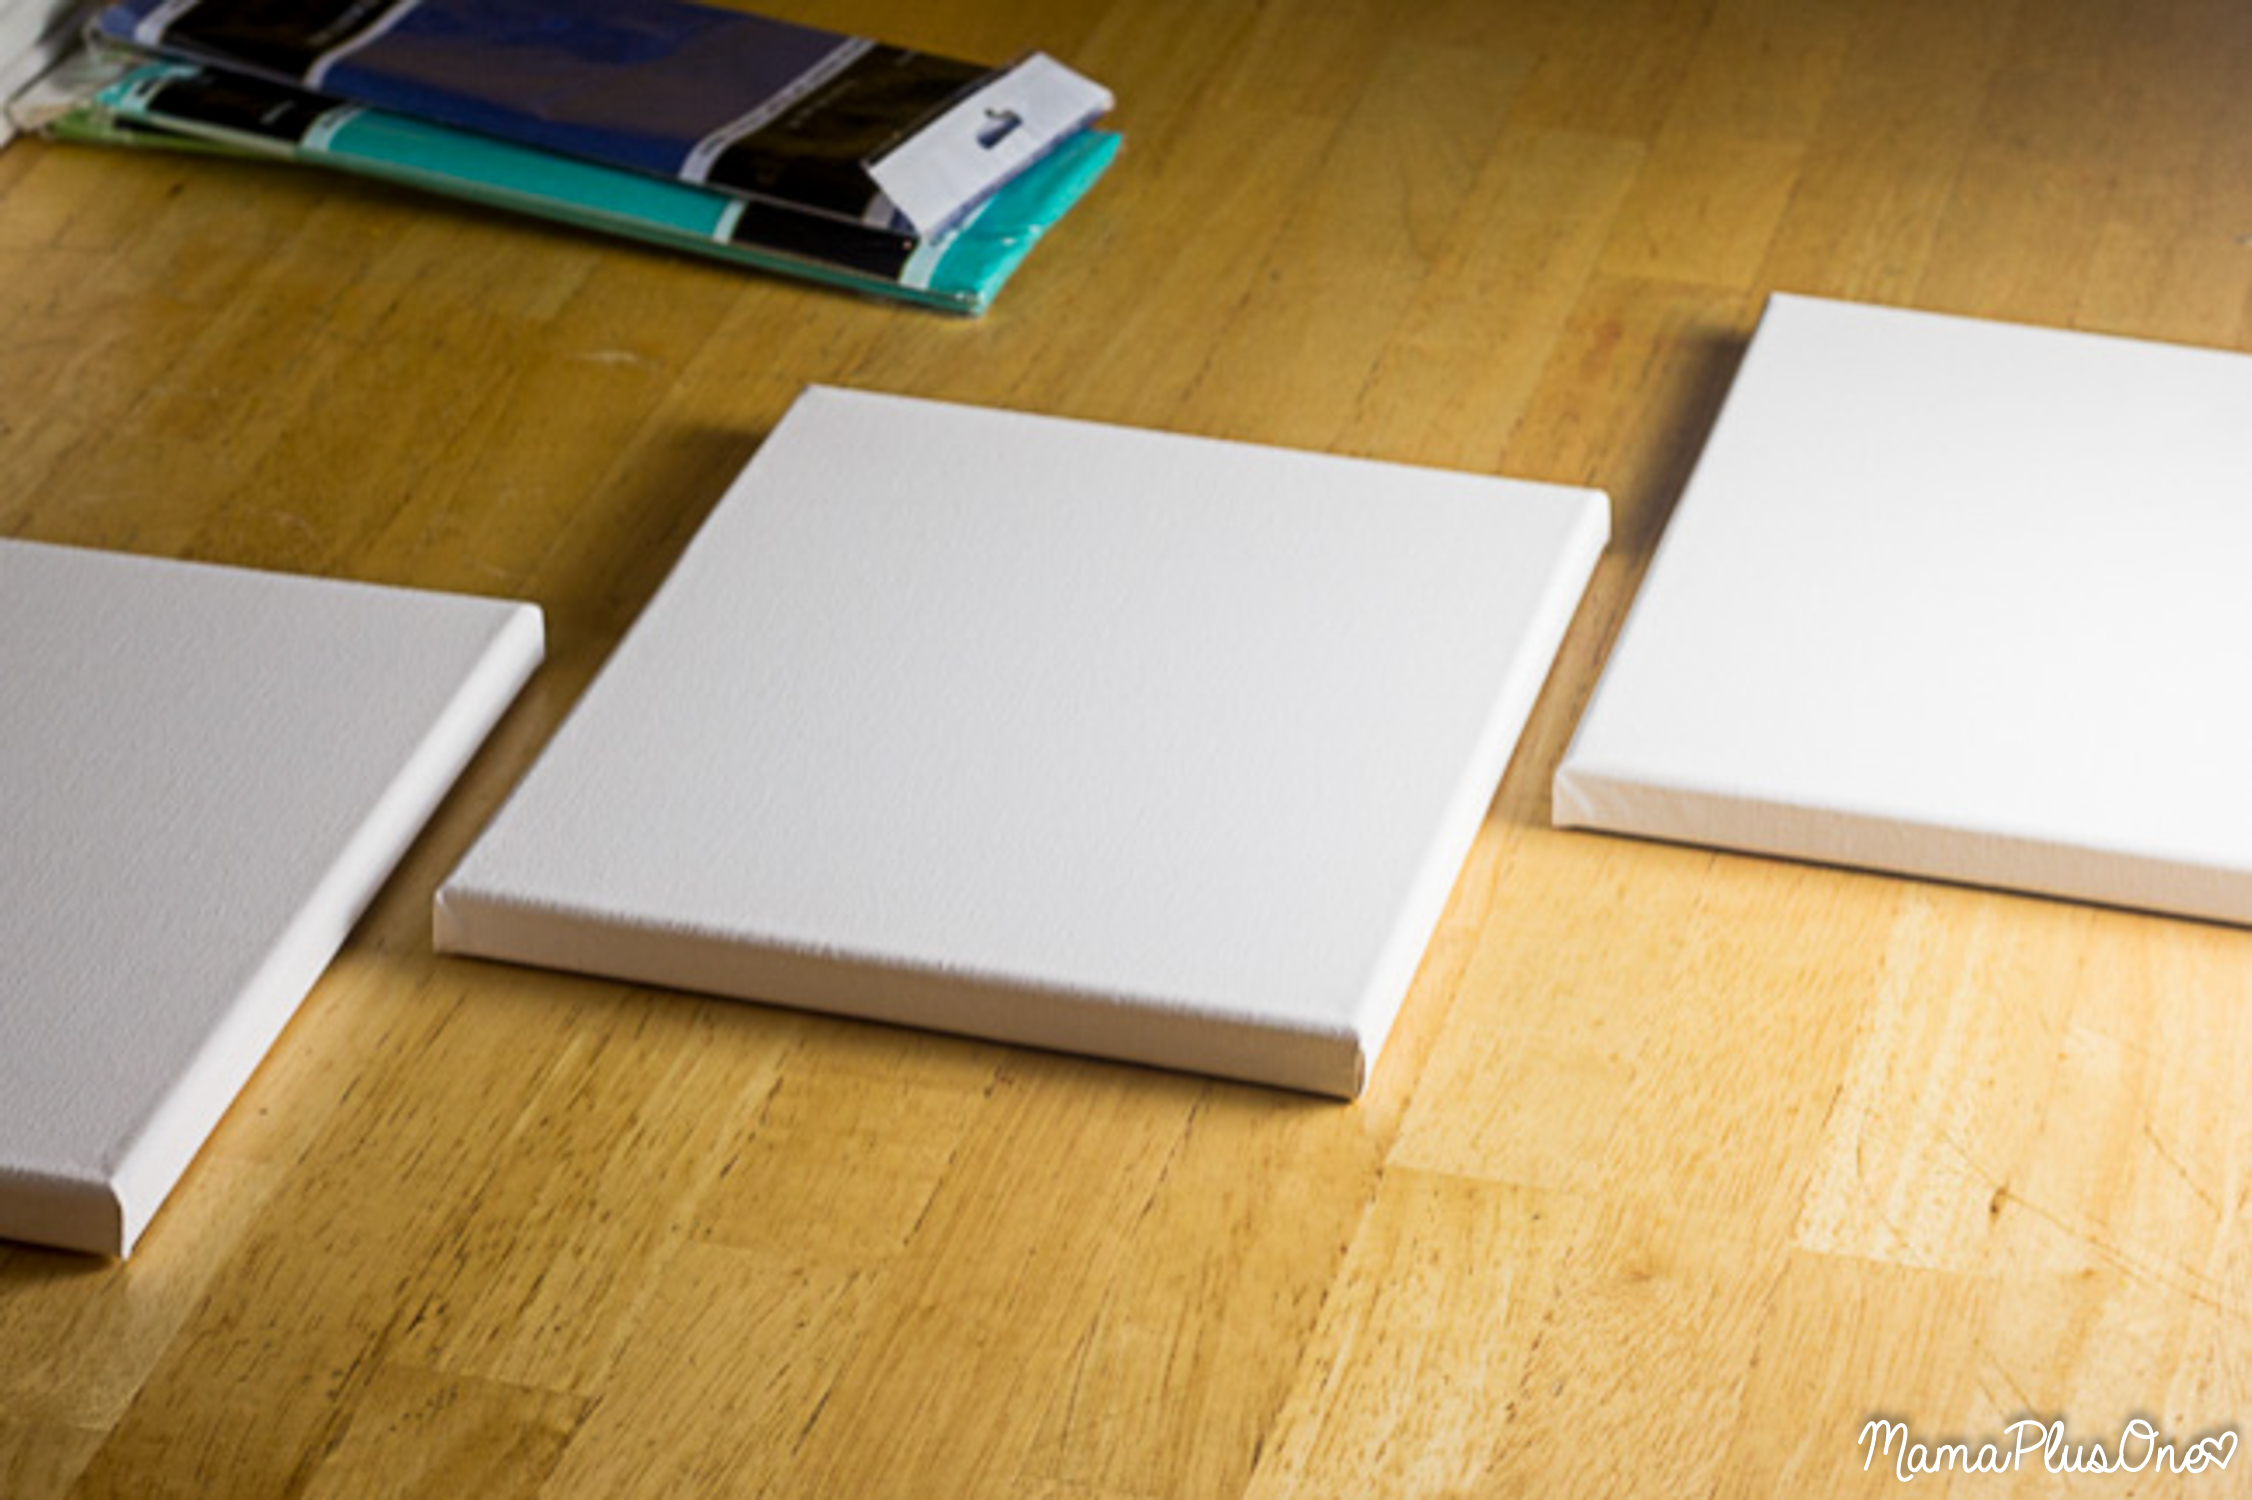
You don’t need many supplies for this project. In fact, some of them you may already have lying around the house!
- Canvases— use whatever size, dimensions, and number that you’d like to use. I love to use odd numbers of canvases in my arrangements (1, 3, 5) for added visual appeal. Some of the beauty of this canvas set is the way the tissue paper seems to float, flow, or travel from one canvas to another, so I’d suggest 3 or 5 canvases for this project!
- Tissue paper in colors that are near each other on the color wheel. Of course, you can get creative and use any colors you’d like! But colors near each other have a great ombre look. Red, orange, and yellow can create a firey vibe, while blues, greens, teals, and purples can lead to a nice watery effect. Play with brights and metallics, shimmers and pastels to get the look and vibe you desire!
- Adhesive that will help adhere the tissue paper to canvas and provide a nice coat on top after.
- Paintbrushes (for the adhesive).
Easy Tissue Paper Canvas Art Instructions
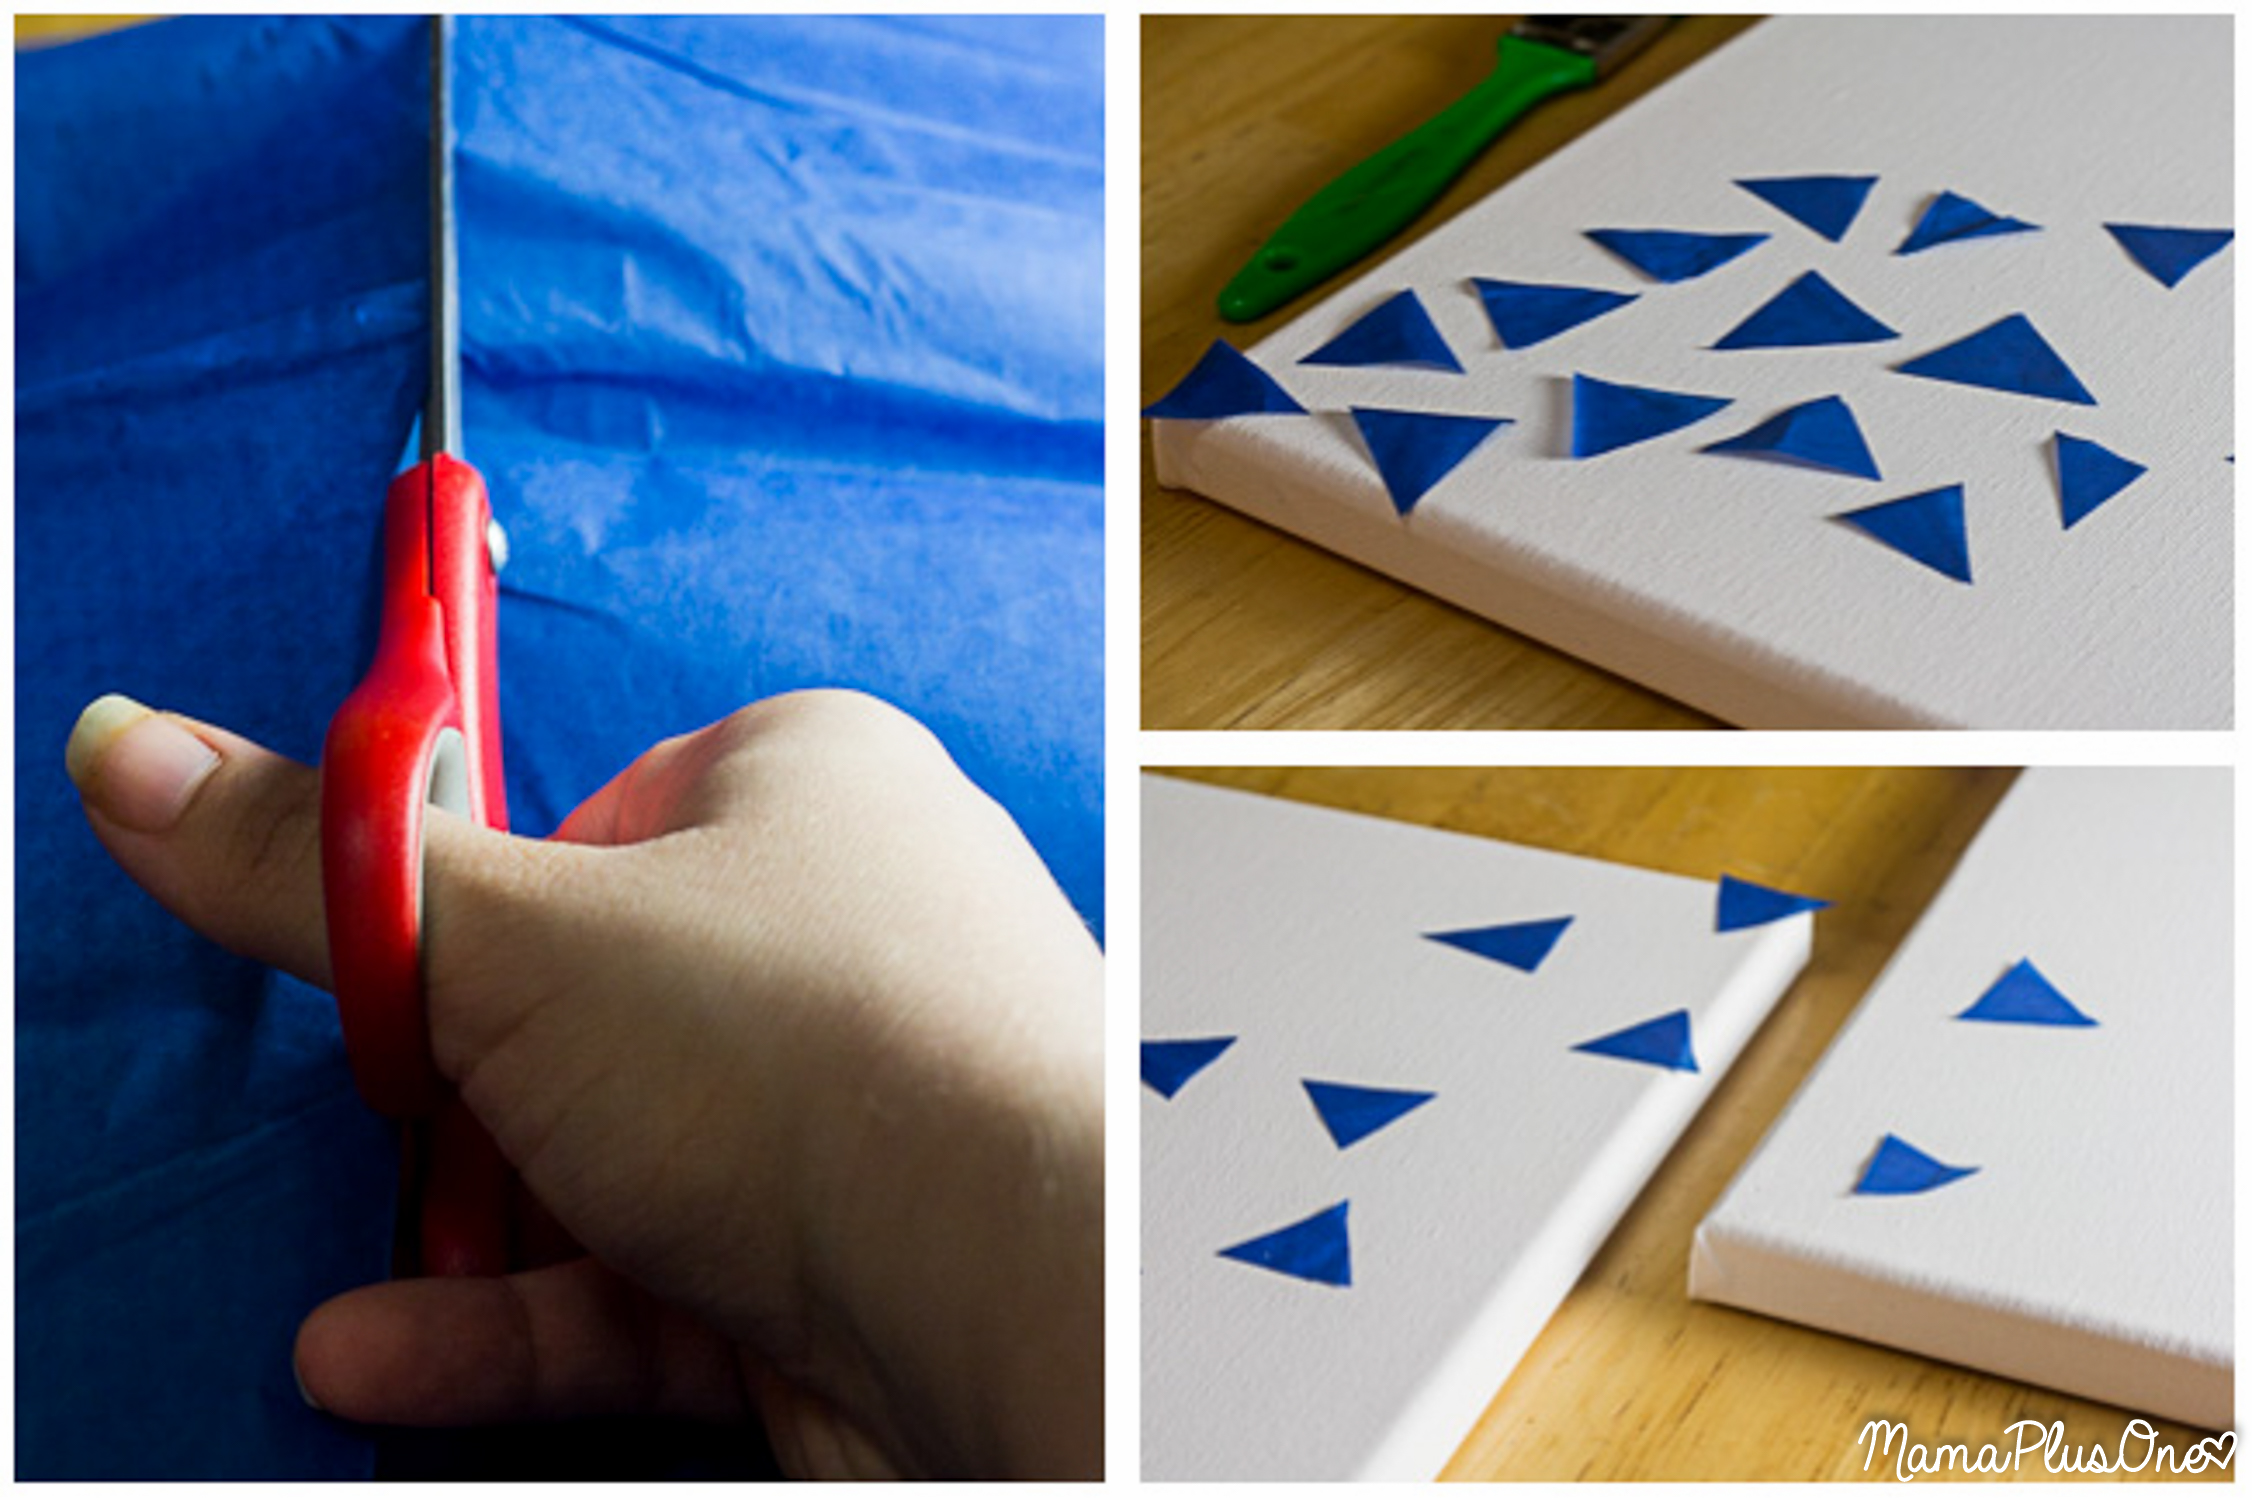
Start by cutting the shapes you’d like to use out of tissue paper. I simply made a lot of random small triangles from the three colors of paper I was using, but if you want to do circles or similar shapes, a large punch can help with making those shapes quickly!
You won’t need much, depending on the size of your canvas, so save the rest for giftwrap or for another project!
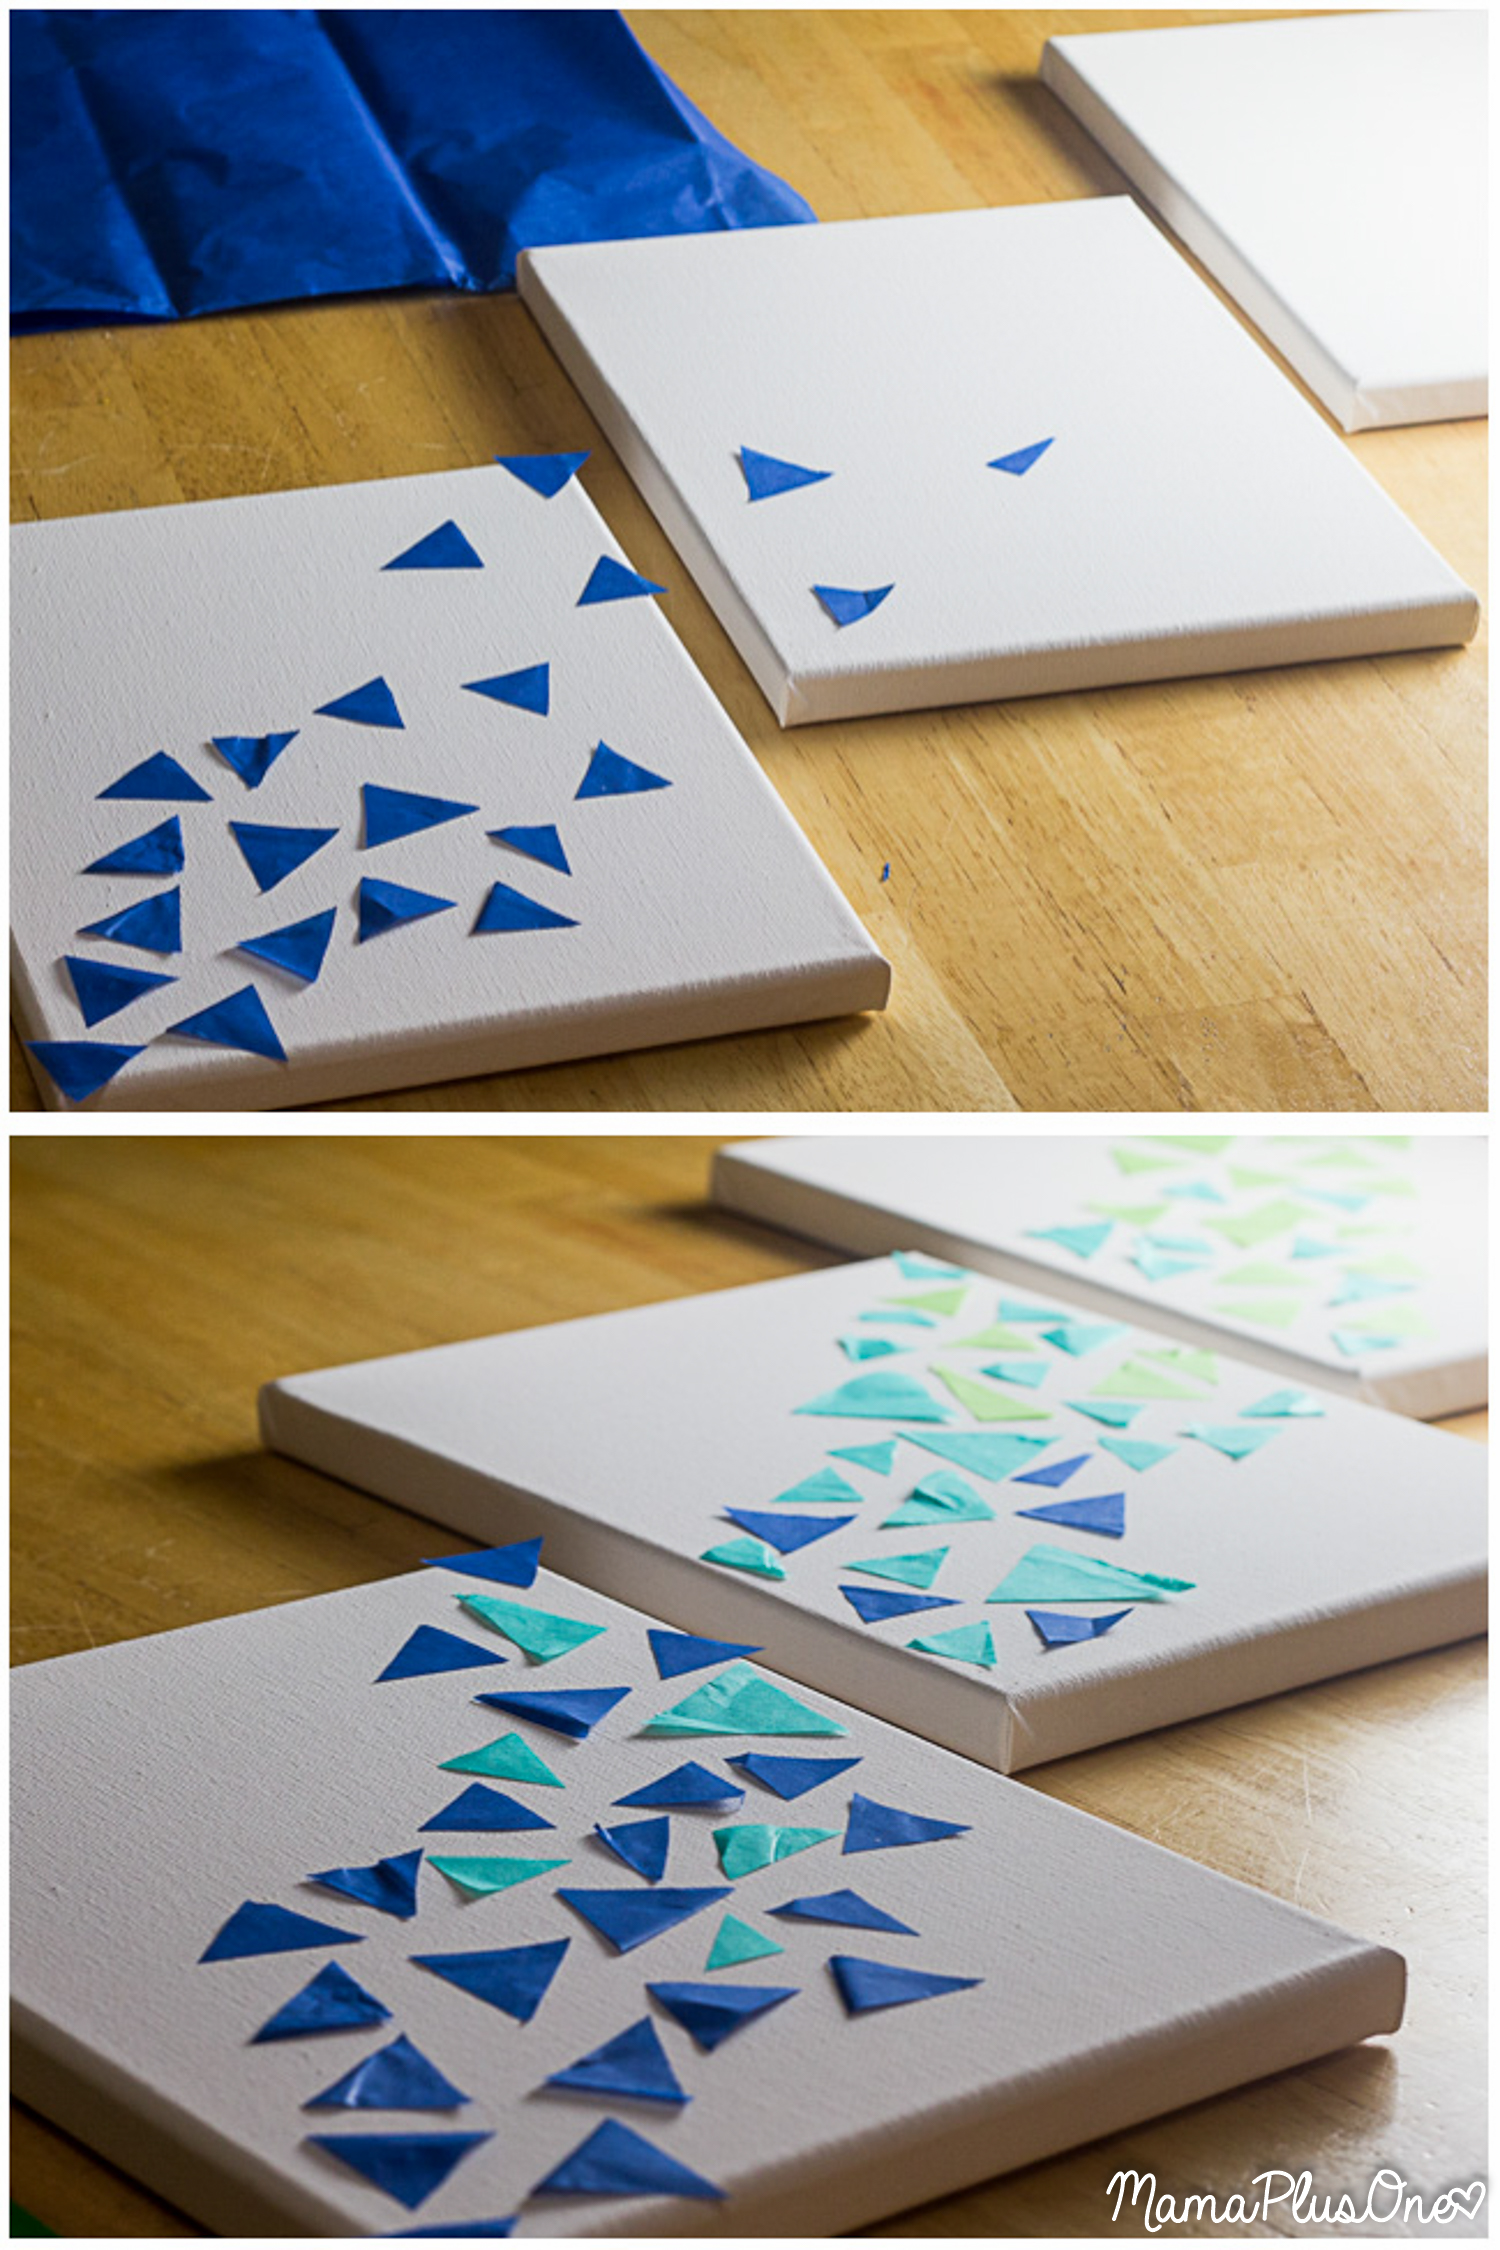
Position your shapes on the canvases. To make sure that I got a great transition between each color, I laid out all three canvases and roughly placed all of my shapes on before getting started attaching them to the canvas. If you don’t feel that it’s quite right, you can keep rearranging pieces as you attach them, giving you time to work out the design as you’re gluing them down. This just gives you a rough idea of what you might want to do with your shapes.
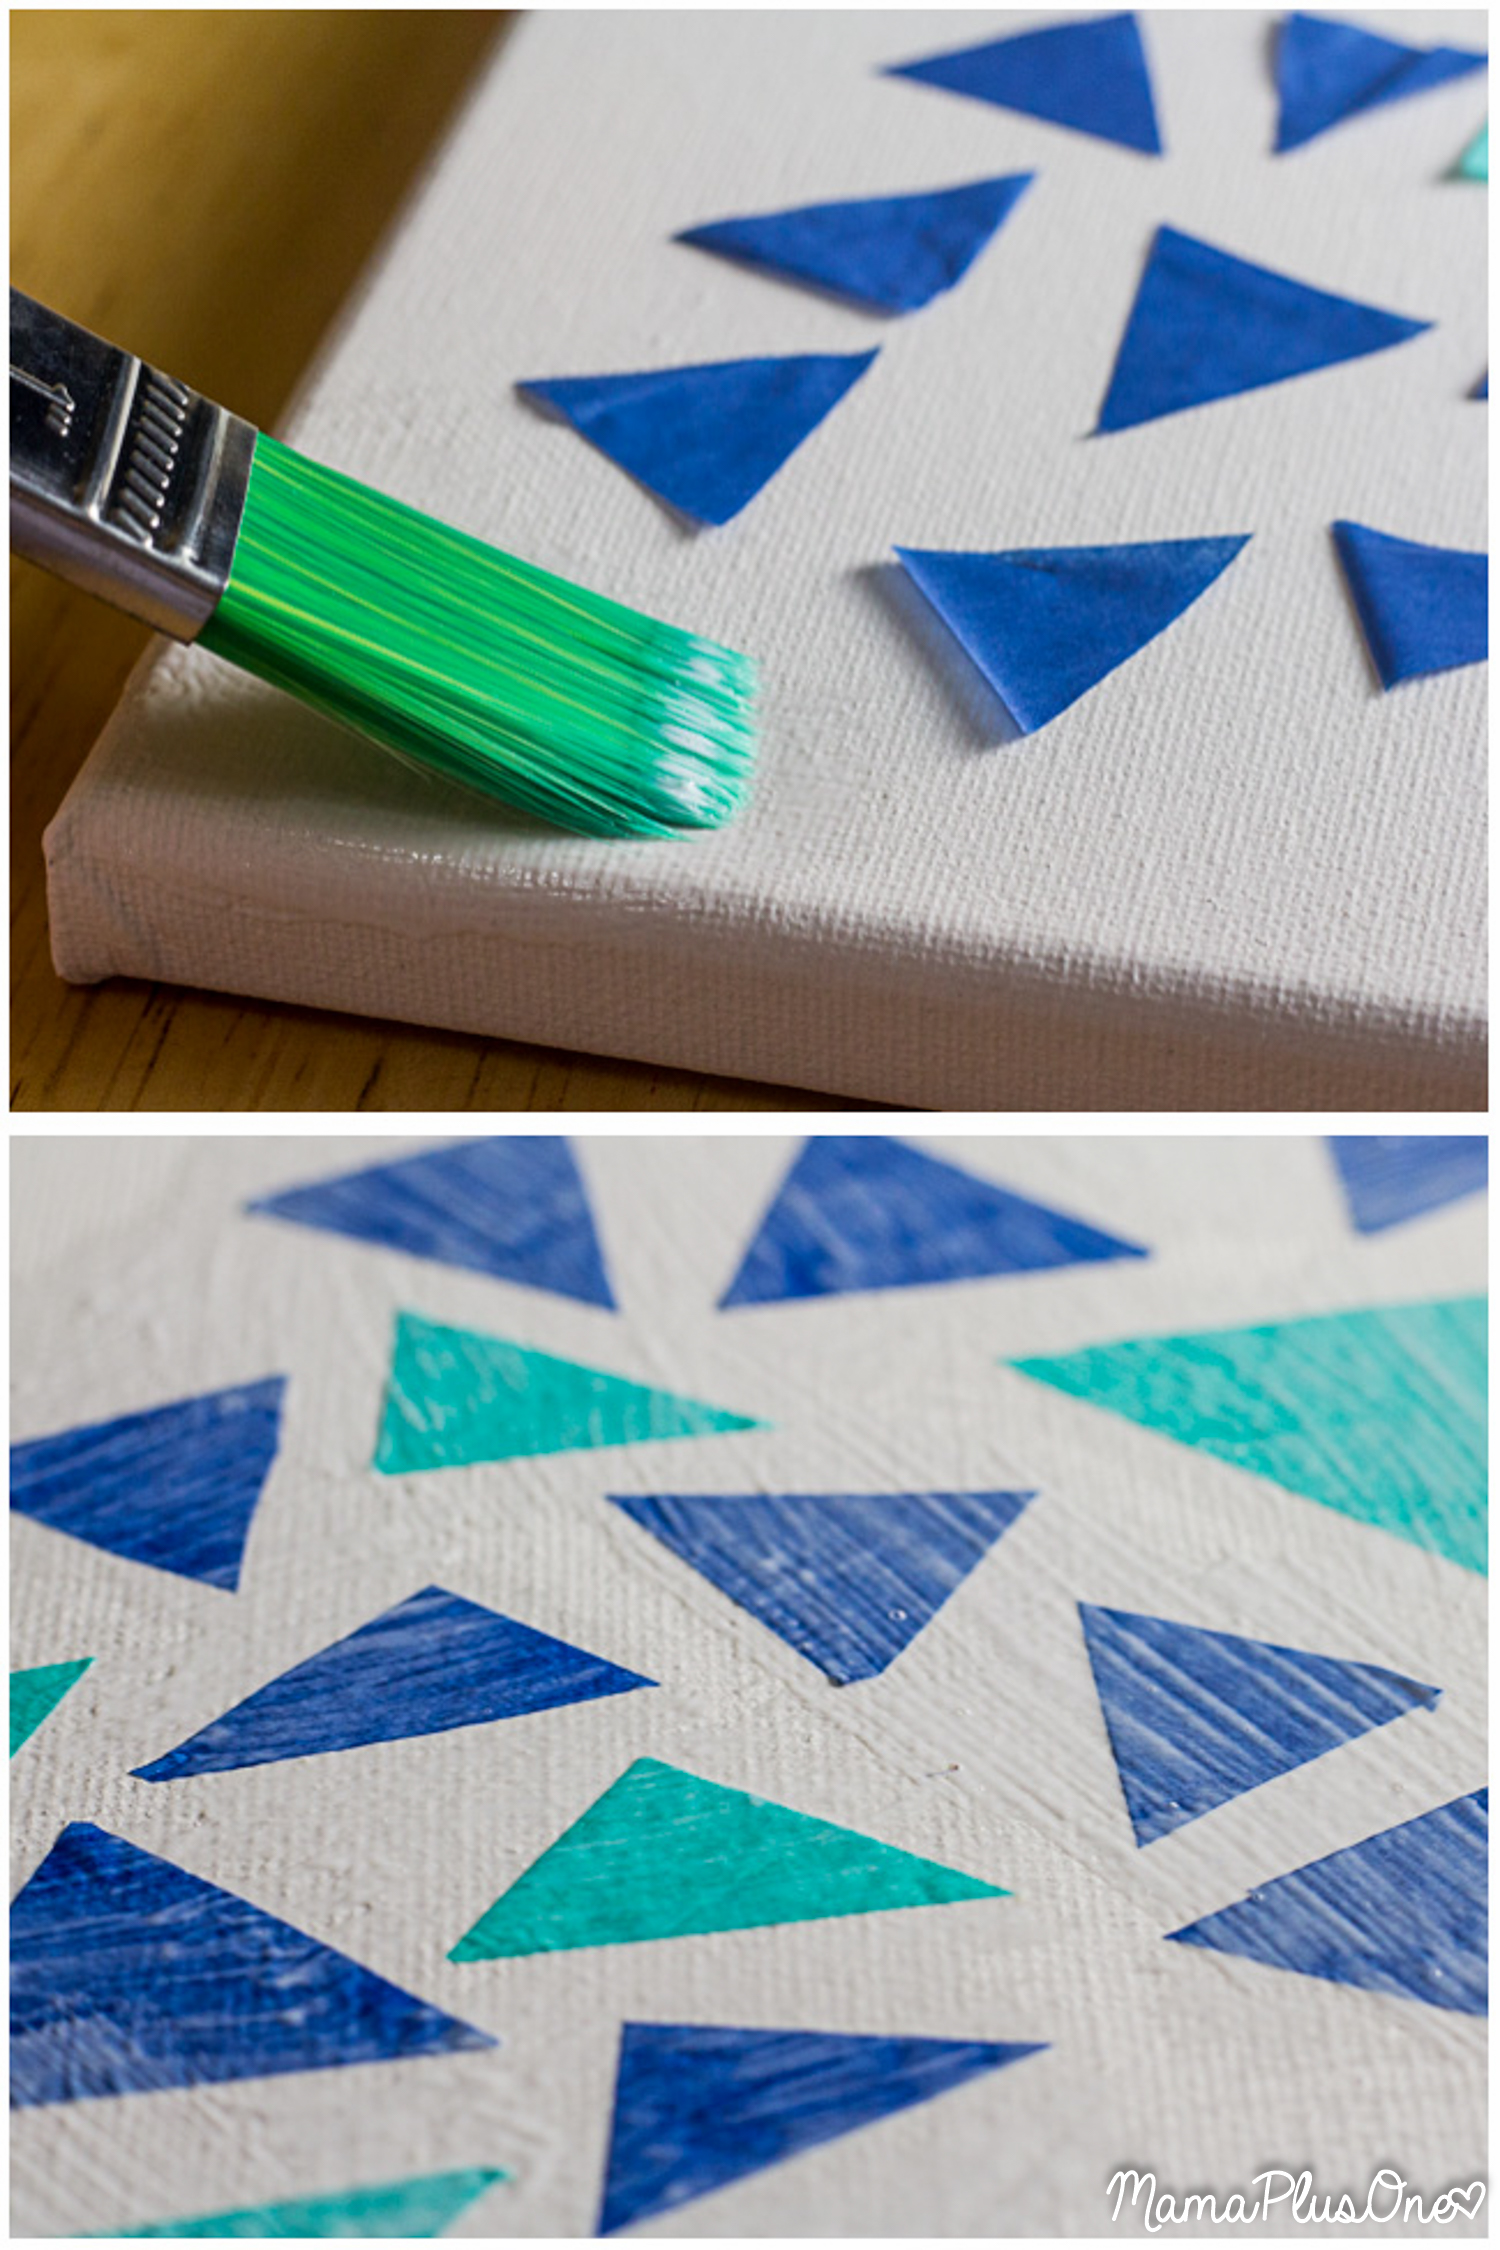
To attach them, remove a few pieces from the canvas at a time and spread a thin layer of adhesive on with a paint brush. Place the pieces onto the canvas. Once you’ve adhered all of the tissue paper, go over it with another thin layer of adhesive to seal down any loose edges and corners.
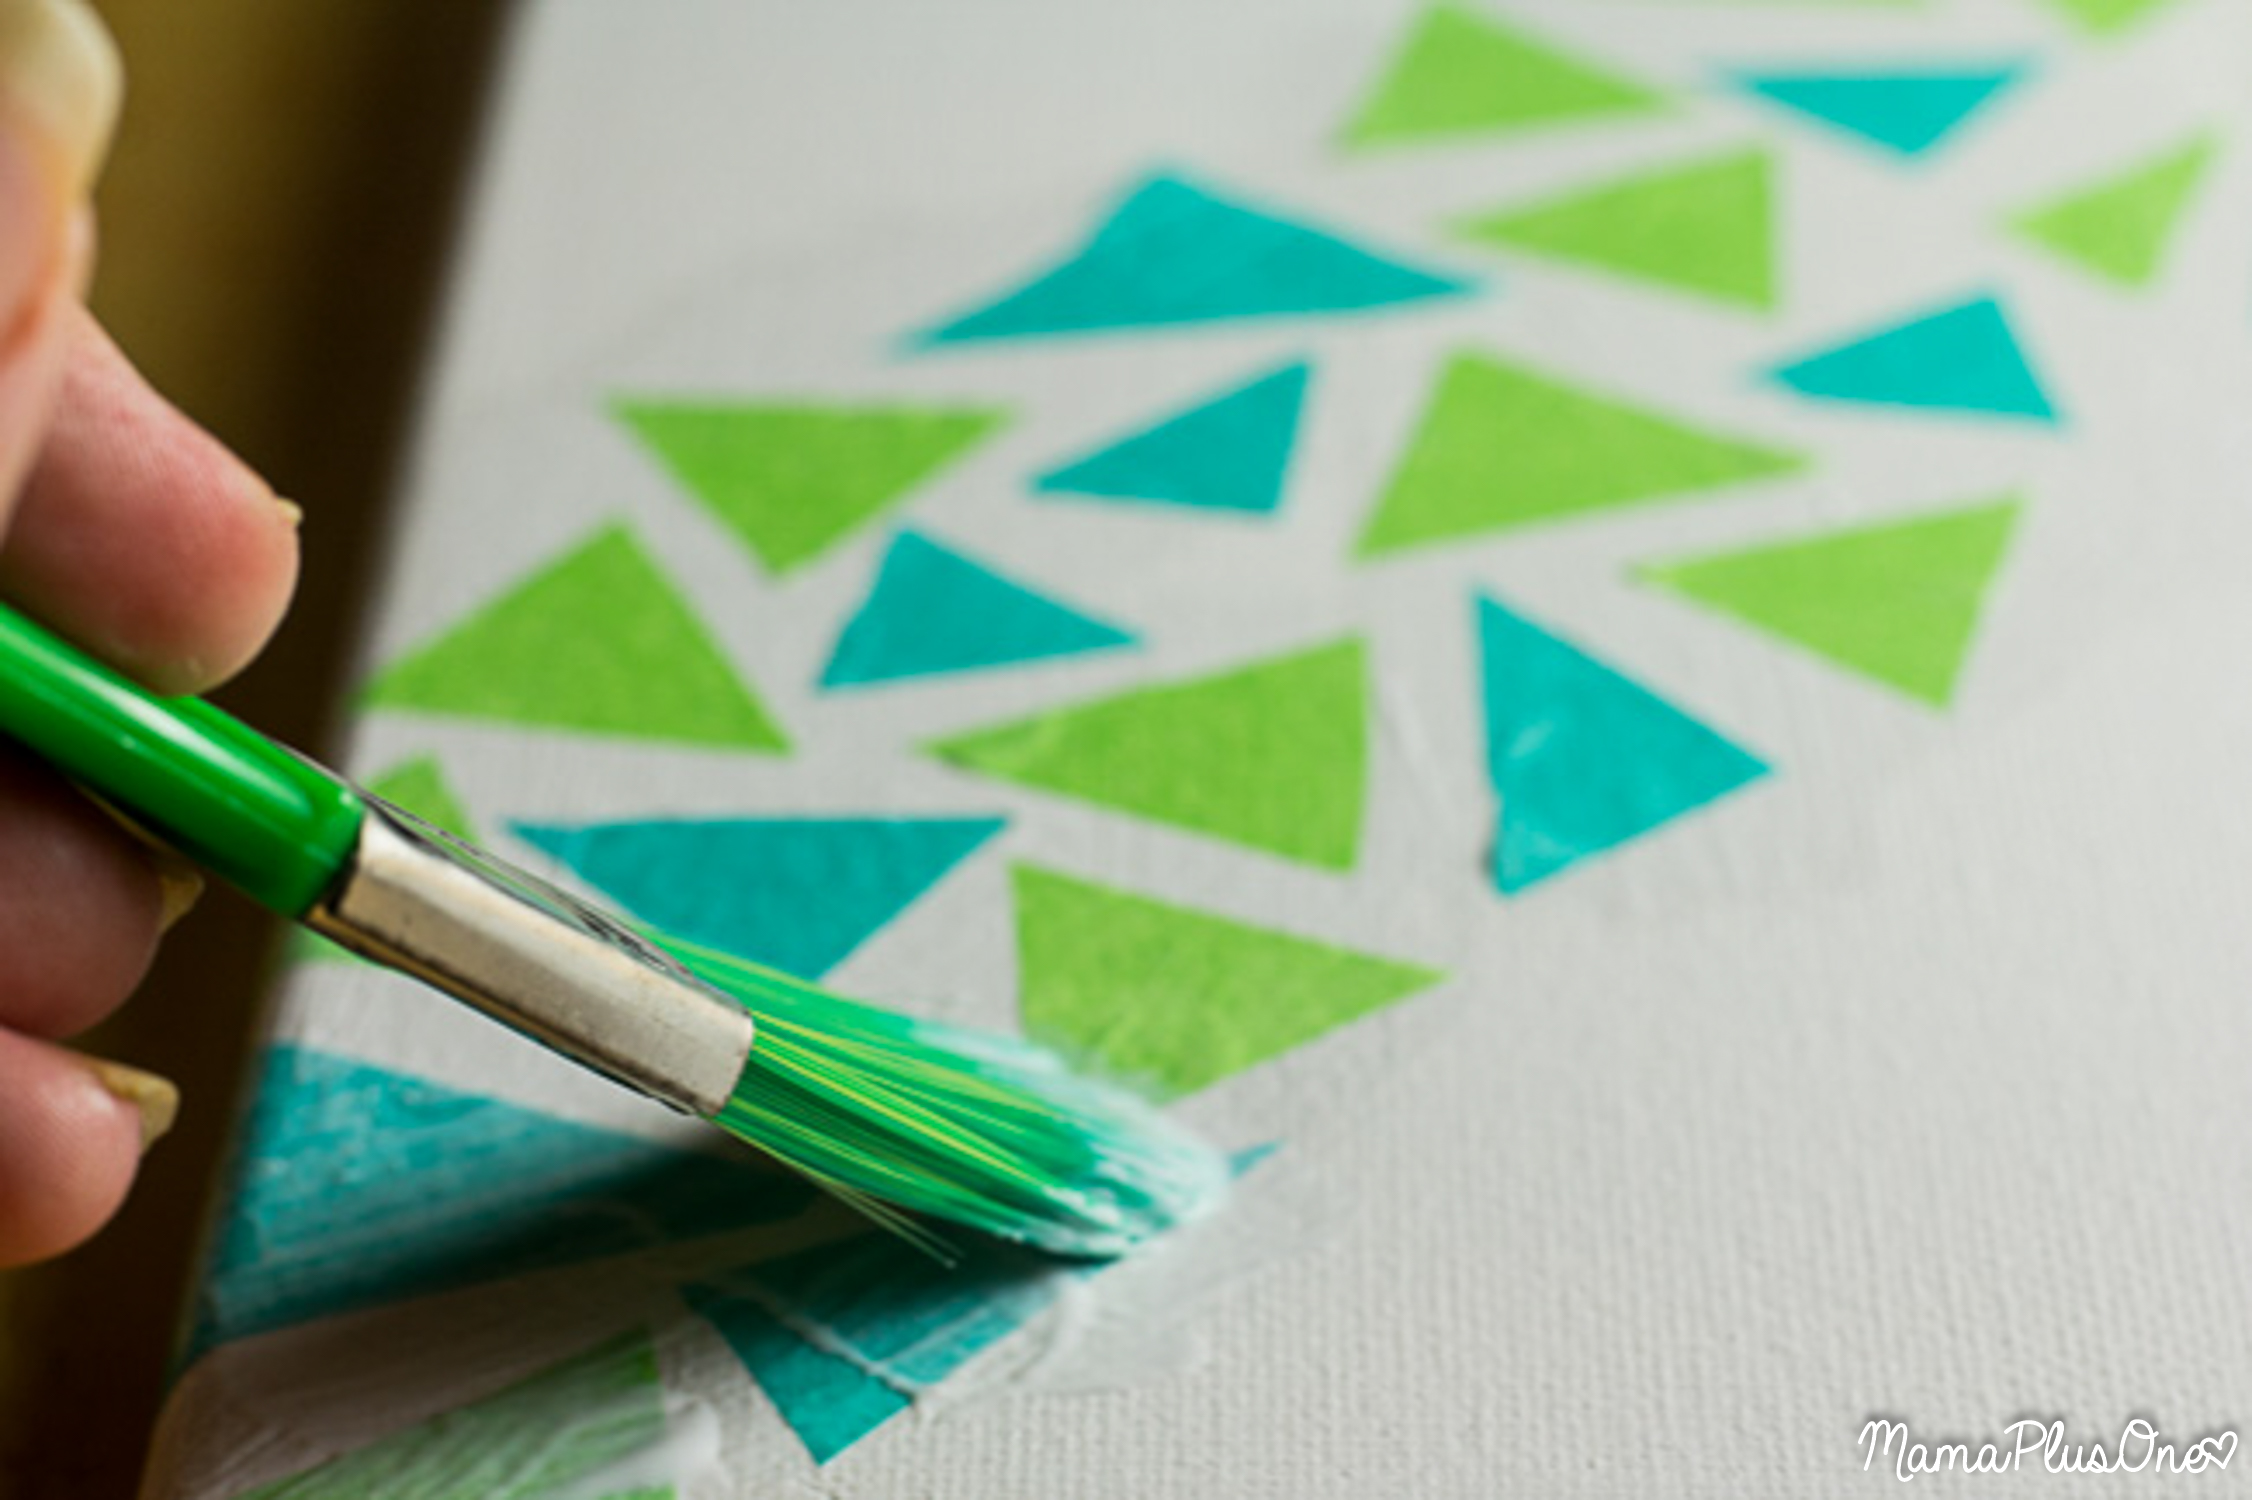
This project is so simple to make that you can get it done in under an hour, making it a perfect activity for parties and get-togethers with friends, or a great teen sleepover craft! You can even finish the project with a light dusting of glitter across the canvas if you’d like.
What shapes and colors would you use for this project?
Let me know in the comments below! If you make this simple craft, please be sure to tag me on Instagram (@mamaplus1) or Twitter (@mamaplusone)! I’d love to see how it turned out!
More Easy Art Projects
Backyard Splatter Painting
Spring Starbucks-Inspired Canvas Art
Tie-Dye Inspired Mini Canvases

