Pumpkin Carving and Sensory Play

I received product from Pumpkin Masters for this post. All opinions are my own.

Pumpkin carving is an excellent family tradition every autumn or fall season, but did you know that with the right tools, even the youngest kids can get involved and turn carving and family time into a learning experience or educational activity? Don't just go to the pumpkin patch this year- help your kids learn while having fun with pumpkins!  #pumpkinmasters #ad

Pumpkin carving… it’s a great tradition that many families share. It can be really fun to set up a bonfire or lay out some trash bags to collect pumpkin guts and get the whole family to carve pumpkins together, but did you know it could be a unique learning experience, too? Children learn with all 5 senses, and pumpkin carving offers a great sensory experience that helps children explore all of these, and with the right tools, kids of almost any age can get in on the fun.

Read more

Recycled Regatta: How to Make Sailboats out of Recycled SunnyD Bottles

This shop has been compensated by Collective Bias, Inc. and its advertiser. All opinions are mine alone.
#WhereFunBegins #CollectiveBias

It's time to pull out the sails and have some summertime fun! If you're looking for a summer craft to add to your summer bucket list, or if you just need a boredom buster for your kids, they'll love these fun recycled DIY boats! #WhereFunBegins #ad

I am a huge fan of crafts made with supplies I pretty much have on hand. When my son says “I’m bored!” I like having a project available for him to do. Because of that, I tend to save things like bottles and straws in a bag in our pantry– they make the COOLEST homemade toys!

Read more

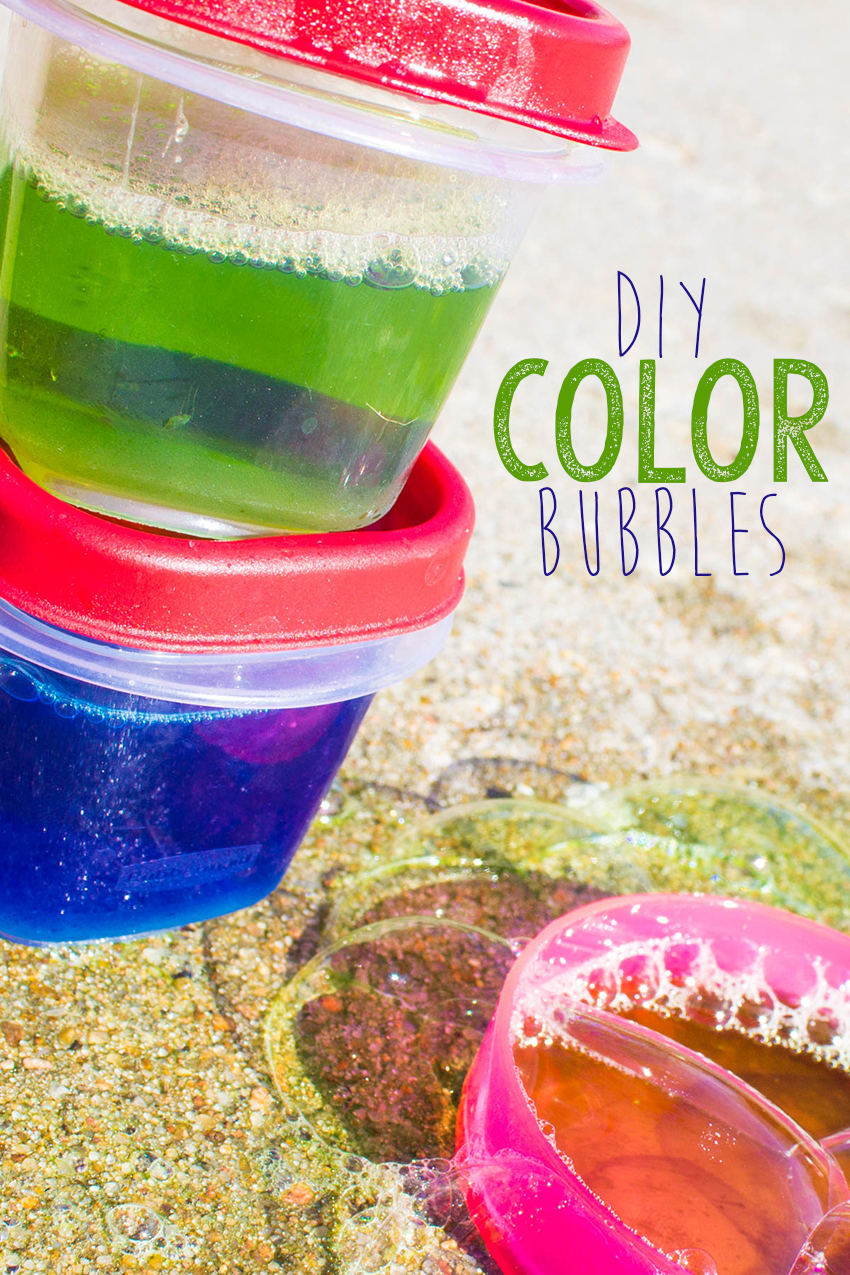
DIY Color Bubbles

By now, we've all seen those fun color bubbles in stores. But did you know they're super easy to DIY at home with items you already have around the house? They take minutes to make, and they'll revolutionize your outdoor play activities!

I’m sure by now you’ve seen the colorful bubbles in store sold by some big-name brands. But did you know it’s easy to DIY color bubbles yourself? It only takes a few ingredients– things you already likely have around your house– and a few minutes to make the BEST color bubbles on the planet!

Read more

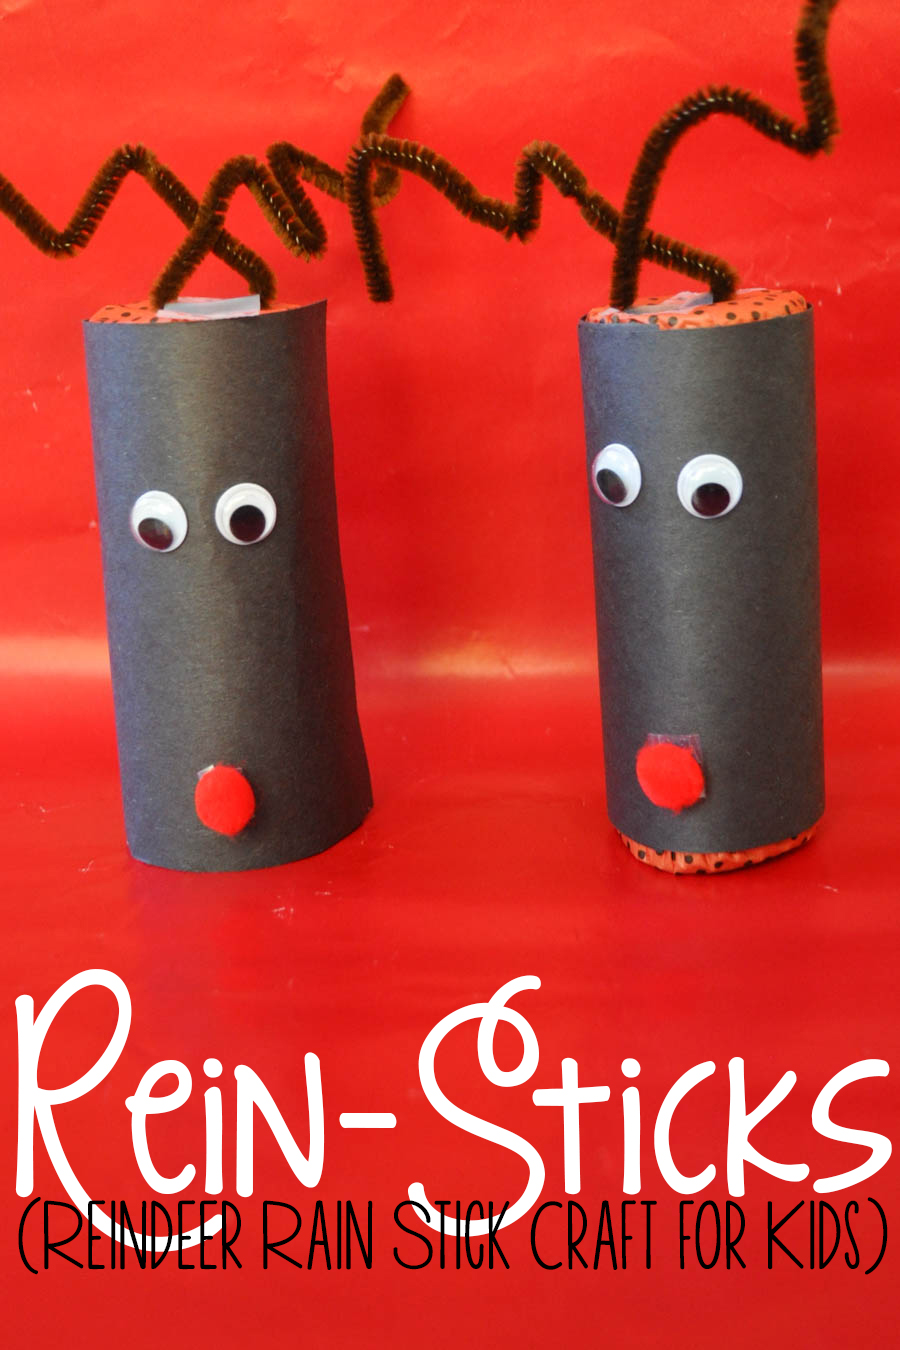
Rudolph, the Red-Nosed Rein-Sticks… or Easy Reindeer Rain Stick Craft for Kids!

Need a Christmas craft to keep kids busy? Try these reindeer-themed rain sticks! They're the perfect DIY for kids, take very little assistance from mom, and get their start in toilet paper rolls (and other supplies you probably have around the house!)

Ah, Christmas break. It’s upon us, isn’t it? And that means finding ways to keep the kids busy (and out of the gift stash) until Christmas. It’s the perfect time to bring out the DIY supplies, though, and get crafting! This fun craft serves a dual purpose, though– kids can DIY these rain sticks, then use them as musical instruments to calm down, or to sing fun carols as a family.

Read more

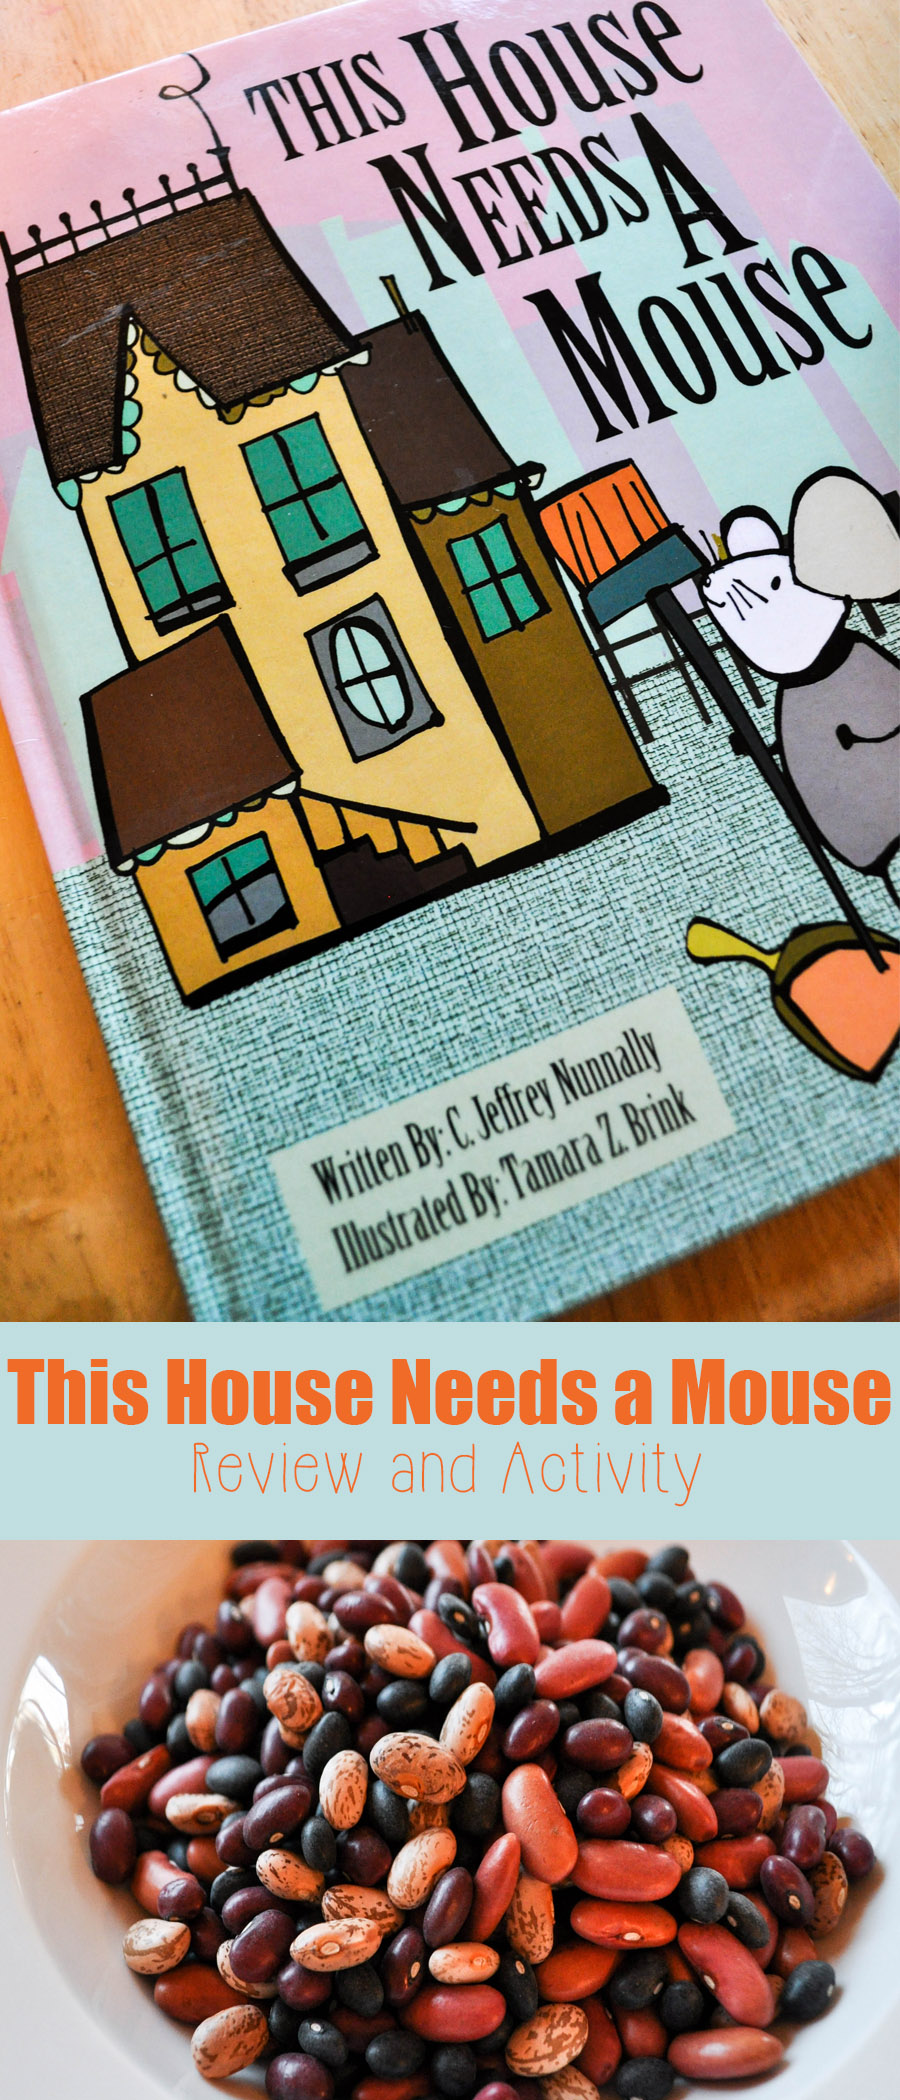
This House Needs a Mouse: Review and an Activity!

Disclosure: I received a copy of This House Needs a Mouse for review. All opinions are my own.

Check out this fun activity for This House Needs a Mouse! If you like the book If You Give a Mouse a Cookie, you'll like this new mouse-themed book, and there's a fun activity that promotes fine motor skills to go with it!

I’m a sucker for a good children’s book. So when I heard the synopsis of This House Needs a Mouse by C. Jeffrey Nunnally, I didn’t expect it to be quite like it turned out. I expected a story about a mouse, and, yes, I got that for sure. What I didn’t realize was that the book was about family, and that’s a topic I can definitely get behind.

Read more

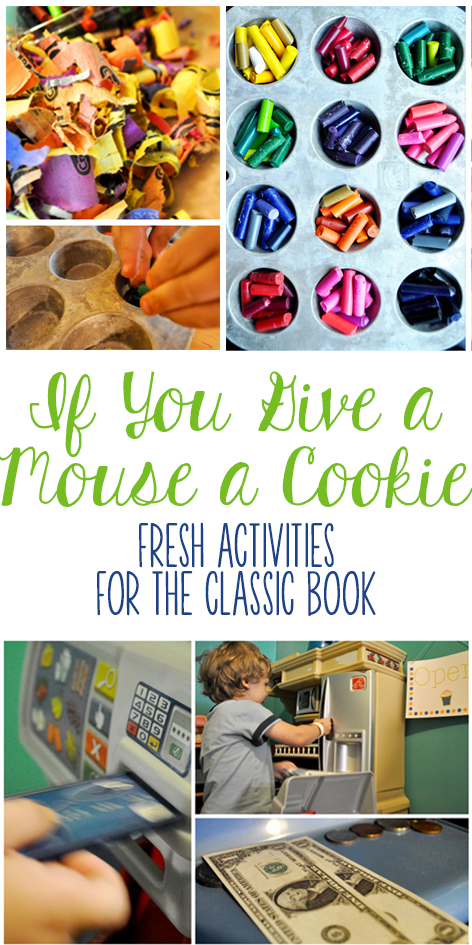
If You Give a Mouse a Cookie: Activities for the Classic Book

Looking for If You Give a Mouse a Cookie activities? These kids activities and kids crafts for the classic book are awesome! The post even has some other books that tie in really well!

If You Give a Mouse a Cookie is a really great kids book, especially when it comes to discussing cause and effect. After all, if you give a mouse a cookie, he’ll want some milk to go with it. There are also so many great options for If You Give a Mouse a Cookie activity topics that you could spend weeks on this book without having overlapping ideas for tying into the book! Here, I list a few of my favorite activities for this classic book.

Read more

DIY Chalk-Rubbed Sand Art

“I’m bored.” It’s July, so surely you’ve heard this at least a million times, because it seems to be a pretty universal phrase in the summertime.

We’ve had a nightmare of a summer week here; it’s been the hottest week of summer so far, and our city’s aquatic center has been closed due to a broken pump. Repairs have dragged on, and while it’s set to open today, it didn’t spare us all of the boredom of not getting to go to the pool. Because really, if I have to watch Frozen one more time instead of splashing in the water, I’m going to lose my mind. Olaf’s Summer song is so not as fun when it’s that hot in reality!

Luckily, I had the perfect craft to keep Zach entertained for awhile… DIY Sand Art that took white sand and turned it all kinds of pretty colors with one simple outdoor craft item– Chalk! The best part is the craft is so affordable if you have chalk and glue on hand already (and even if you don’t, it’s still pretty darn cheap!), and it’s so much fun.

Read more

Summer Lunch Week: Grocery Store Games and Math to Get You Through the Store Without a Fight

Guess what? In case you missed last Friday’s post, today is the official start of Summer Lunch Week here at DigitalEraMom. What’s Summer Lunch Week? Well, it’s a week where I can try to make your life a little easier with ideas, printables, recipes, and more that can make summer lunches more fun, less expensive, and a little easier to prepare. Don’t forget to come back all week long– there may even be a giveaway coming, so stay tuned!


After the third supermarket temper tantrum, I realized I was about at my limit. I had tried everything, from bribery to that free grocery store cookie the bakery section usually hands out. I knew that, as Zach approached 37 pounds, there was no way carrying him kicking and screaming through the store was an option. I knew there had to be a better way.

Then, I realized as we were going through the store that he was very interested in the products on the shelves, particularly ones we bought regularly. I also started noticing that, while he was a great eater that preferred fresh produce to cookies 9 times out of 10, that the packaging grabbed him, and he was after something visual.

I wanted a way to distract him, help him have that visual, and still make healthy choices.

Want to read more?

Tissue Paper Sun Catchers

My son is totally embracing his observation phase. He loves to pinpoint color, look through objects to see the light, and examine thing carefully. So finding a project that can cater to multiple interests is always fun.

The worst part of looking for a project is that so many have a major cleanup. Luckily, this project is pretty much mess-free. No paint, no glue. While those things are great sometimes, other times, it’s nice to have a quicker, easier project that doesn’t require a big cleanup or a lot of drying time before it can be displayed.

But first, a little tiny bit of prep work. If you have an older learner, of course, they can help or do this part, but for younger kiddos, you’ll want to do the prep yourself.

You’ll want to start out by cutting a circle out of construction paper pretty much the width of your paper in diameter. For me, that meant using my circle cutter at an 8″ setting, but you can trace the circle with a saucer, freehand it, or use whatever circle cutting method works for you.

Next, you’ll cut out the center of the circle, leaving about an inch remaining for your main sun body. Since Zach and I were each doing a sun, we decided to use two different colors to allow us to alternate the sun rays, but you can use whichever color you’d like. Be sure to save the inside piece to make the rays of your sun!

Cut the center of the sun into a pizza, essentially, creating several small rays. If you’re making more than one, of course, repeat this for each of your sun centers. I decided to use a straight-line paper cutter, but scissors work, too!

You’ll end up with an assortment of triangles (well, triangles with a curved edge, I suppose).

Arrange your rays around the edge of your de-centered circle. Of course, if you are making multiple suns, you can alternate ray colors by using some of one sun’s center, and some of the other. Or, you can keep it all one color. Get creative (or ask your child’s input).

To make the actual sun-catcher part of the suns, you’ll want to cut out some clear Con-Tact paper. I found mine in the cleaning section of my local store, since people typically use it for protecting shelves instead of crafts, apparently. If you’re using a circle cutter, you’ll want to set it about 1/10th of an inch smaller than the outer diameter of your circle, so it’ll hold the rays in place without overlapping the outside edge of the circle at all.

Peel off the backing carefully and affix the paper to your sun, making sure to hold the rays in place and smooth out wrinkles in the edges.

If you aren’t ready for your child to work on the project, or if you’re preparing your suns in advance for the next day, or a large classroom full of kids, you can easily re-attach the Con-Tact paper’s protective layer to the sticky side to keep it from collecting dirt or dust until you’re ready to start the project.

To finish your prep work, cut several colors of tissue paper into small pieces. I love to keep tissue paper on hand for projects like this, but you can also recycle any tissue paper you get in a gift bag– it doesn’t have to be new or flat for this project. You’ll want to make the pieces large enough for little fingers, but small enough that you’ll fit quite a few on the sun for variation.

When it’s time, peel off the backing and let your child go to work!

You’ll find that your child may be extra careful and pick up one piece at a time…

…or your child may pile the pieces on by the handful with no rhyme or reason. A lot depends on their age, and how they typically approach a project like this, but the beauty of it is there is no wrong way to do it! Whether they’re piled on or carefully placed, the end result will be really pretty.

Sometimes, little artists find out first-hand how the tissue paper sticks to the sun!

This is a great artistic process that allows kids to carefully examine color, and practice those fine motor skills in a beautiful way.

The end goal, of course, is to make sure you’ve covered as much of the clear Con-Tact paper as possible!

Because there is no glue or paint, these works of art can be displayed immediately on the nearest window! Zach decided he wanted to hang his up himself (with a little help from mom), and then spent a very long time pointing out the specific colors he had used on his project. He was so proud of it and showed everyone who entered the house “Look! My sun!”

These suns are so much fun, and a great way to celebrate the spring season. Plus, they’re versatile enough to stay up through summer if you just can’t bear to part with them! And my favorite part of this project is that you don’t just have to stick to suns– you can always pick any shape that interests you and your kiddo, and cut it out to make a special shaped sun-catcher of your very own.

I know we will be making plenty more sun-catchers soon, because Zach just can’t get enough of showing people this project!


What is your go-to mess-free project for kids? Tell me about it in the comments below!

How to Make a Quill Pen and Berry Ink

When studying the Declaration of Independence, it was really interesting to consider that each of those statements, each part of that Declaration, every single word, was carefully considered and penned to declare that we were now an independent colony, and establish a concept for the founding of our country. The early documents in our time, and even the letters people sent, were written using quills and ink. Now, we have pencils and pens and when the ink runs out, we toss it and snag a new one from the drawer.

But quills, well, that’s a different story. Quills must be painstakingly re-inked while penning a document, and can be temperamental. So what’s it like writing with a quill? We decided to find out.

Start by grabbing a feather. You can usually purchase multi-packs for a reasonable price at craft stores or at your local Walmart. Real feathers are preferable to synthetic feathers, as they draw ink better. Cut the quill at a sharp angle carefully. For younger children, you may want to do this step for them or have an older sibling assist. For older children, it should be fairly easy to snip through.

Your quill is now ready, so set it aside, and work on the red berry ink!

While working on this project, we were studying the Declaration of Independence and were able to learn more about why our founding fathers wrote the document in the first place. To quote HistoryForKids’ summary, “Sometimes one group of people decide to split off from another group, and to become an independent country, as the laws of Nature and of God say that they can. But when this happens, if they want other people to respect them, they should explain why they are splitting off.”

To make your ink, start with one cup of frozen strawberries. These sliced ones tend to thaw faster, and you’ll want them thawed out completely before continuing to the next step.

When it comes to the Declaration of Independence, the founding fathers believed that everyone was created equal, or at least at the time, all men. They believed that there were some God-given rights that no one could take away, and that these rights included the right to life, liberty, and the pursuit of happiness. Unfortunately, it seemed the King of England was doing some very uncool things that were violating the rights the founding fathers believed that all men should have.

Mush the strawberries, squishing them as much as you possibly can. You’ll want to get as much liquid from them as possible by mashing them with a fork or other masher.

The colonists worried that the King of England wasn’t allowing them to pass laws they needed to, and was ruling the colonies from such a distance. He wouldn’t sign laws even when the colonists would pass them, and even tried to force the colonists to give up their right to make these laws.

They also worried that he wouldn’t let new settlers go to America, or let the current settlers take over new land. He was saying they couldn’t choose their own judges, which meant that he could hand-select judges that were loyalists to the Crown. That was hard, because the colonists wanted to go their own way.

Push the mixture through a strainer. The juice (liquid) will be reserved for your ink, and the strawberry pulp can be discarded or, if you’re like my family, set aside for smoothies. Waste not!

The colonists in the not-yet-formed States believed that the King was sending government officials that they didn’t want to have, and was making the colonists pay taxes to pay for these officials. One of the parts of the Bill of Rights says we don’t have to house military, and part of that stems from the King making colonists house soldiers, and how he said the soldiers didn’t have to abide by the same laws as the colonists. That really didn’t sit well!

You’ll get a lot of nice liquid from the berries, which will be the base of your red berry ink.

Honestly, for the colonists, life was getting unbearable. The King was making sure that the colonists only buy from England, so free trade wasn’t an option. Tax laws were passed without any consultation with the colonies (which is a good chunk of why the Boston Tea Party happened. Taxation without representation basically meant that the king was putting taxes out there without having anyone representing the colonies speaking their mind about the taxes to begin with).

Stir in a teaspoon of salt.

The thing that kind of blew my mind about the colonies is something that my teacher reminded me of in high school– that many of the colonists had NEVER seen England. After all, the first explorers came over in the 1400s, and early colonization and settlement was happening in the early 1600s. In fact, it was in 1587 that the first English child was born in North America. Jamestown, one of the first well-known colonies, was established in 1607. It was in the 1630s that the Puritans made their mass migration to America. That means that so many of the settlers under England’s rule had never really even experienced England!

Then, stir in a teaspoon of vinegar. Let it sit for a minute after mixing thoroughly. It’ll thicken slightly, to make it write cleanly, but not significantly, so the quill will draw it up nicely.

Dip your quill, and now you can write! You’ll need to re-dip as the pen starts to run dry. Wouldn’t it take forever to write something like the Declaration of Independence with a quill? Think of how much quicker it would be to use the computer these days, or even a regular pen.

The red ink looks really neat as you put quill to paper, and has a nice texture.

Even our littlest student got a chance to try it out with a quill of his own!

What will you use your quill pen for? Maybe writing your John Hancock like the founding fathers, or sending a letter to a distant (or local) friend? Either way, let me know what you think of this awesome berry ink in the comments below!