I was walking through Target the other day, and, as much as I love the fact that there’s a million things inside I just have to have, there’s definitely a limit. You see, not long ago, I was looking for some new wall art. I came across some adorable animal string art at Target, and I was totally smitten! Then I saw the price tag. $24.99. Really? To me, I was looking at $25 for some nails, a bit of string, and some wood. I had to try it myself at home!
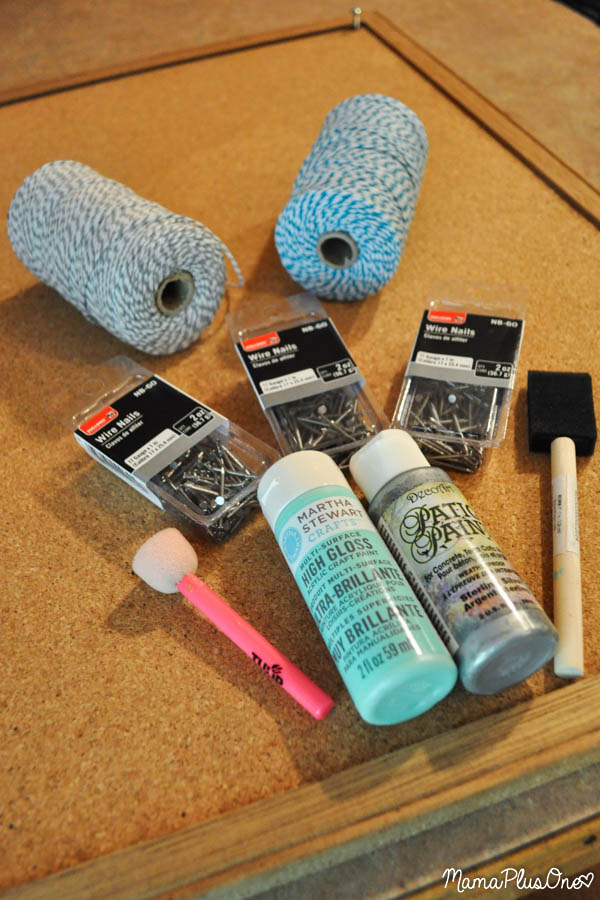
You don’t need very many supplies to make your own string art. Really, all you need is a back piece, some nails, some string, and paint if you’d like. I chose to use an old cork board for my back piece, but you can use scrap wood or even do the work straight on the wall if you’re really brave!
I found wire nails at Walmart for only $0.97 per pack, and used about a pack and a half for my string art, but depending on what you’re making, you may need more or less. I also have baker’s twine shown here, which will work really well for a one-toned piece (like a silhouette!) but for pieces like the one I did, it took a switch to Embroidery floss to make it work. I spend about $0.49 per skein of floss, and I used 4 colors in my art. Finally, paint. I used paint that I had on hand from some other crafts, but you can usually find it pretty affordably at your local hobby store. My entire piece cost me less than $5 out of pocket (of course, it’ll cost more if you don’t have cork board or paint on hand!)
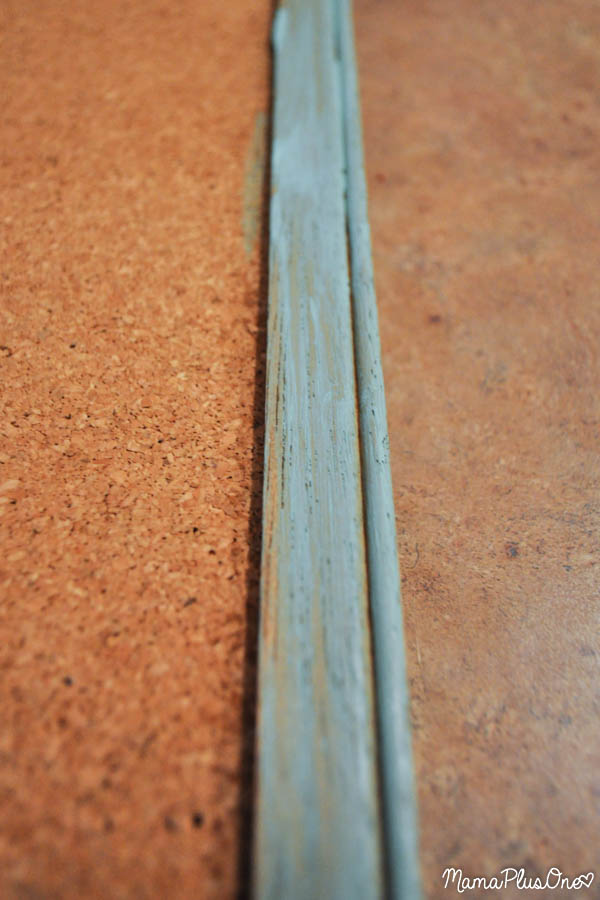
Start by painting any areas that need to be painted. I decided to just paint the frame of my cork, but if you’re doing wood, you may want to paint the entire piece. DIY Art is pretty subjective, I think, and it doesn’t make sense to say “this is how you should do your art,” because truly, you can do it how you want. I picked paint that worked well with the other items near the final placement of this image, but you go with whatever color you prefer.
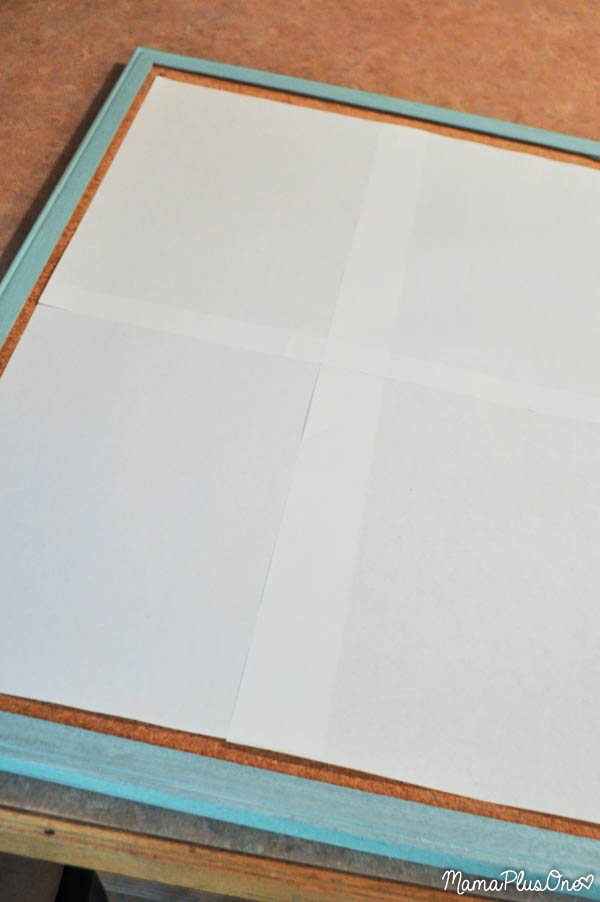
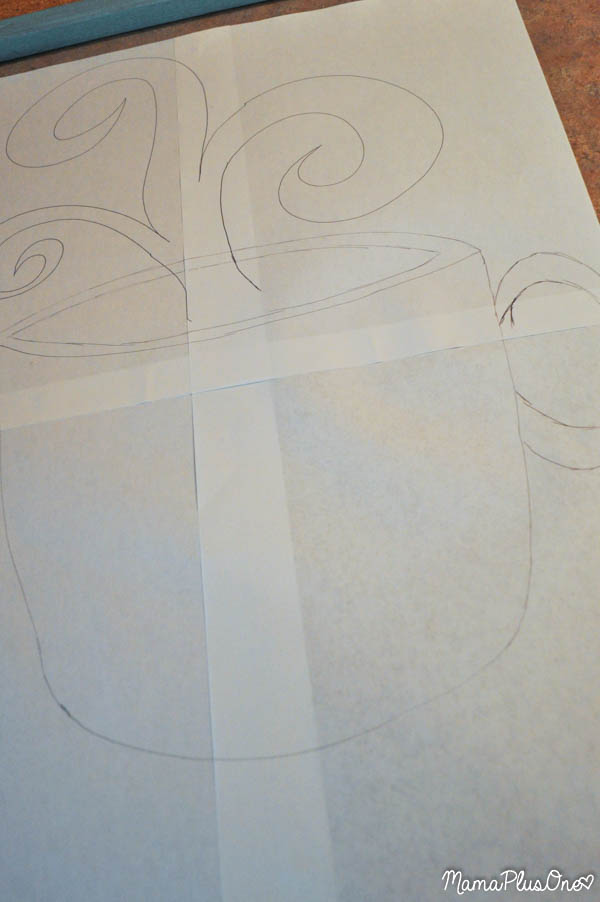
As your paint dries, measure out your area for your design. You’ll want to leave a little space on the edges. I taped mine together so I could freehand my art, but you can print the shape you’d like to do from the web or even just poke it straight into the board with no template needed. I personally liked the idea of a template I could modify, but wanted to free-hand an image in my head.
After making the proper size, I free-handed my drawing. I later decided to make some modifications as I went along, and you can do the same if you’d like. Don’t lock yourself into one idea– the best part about string art is that you can go with the flow!
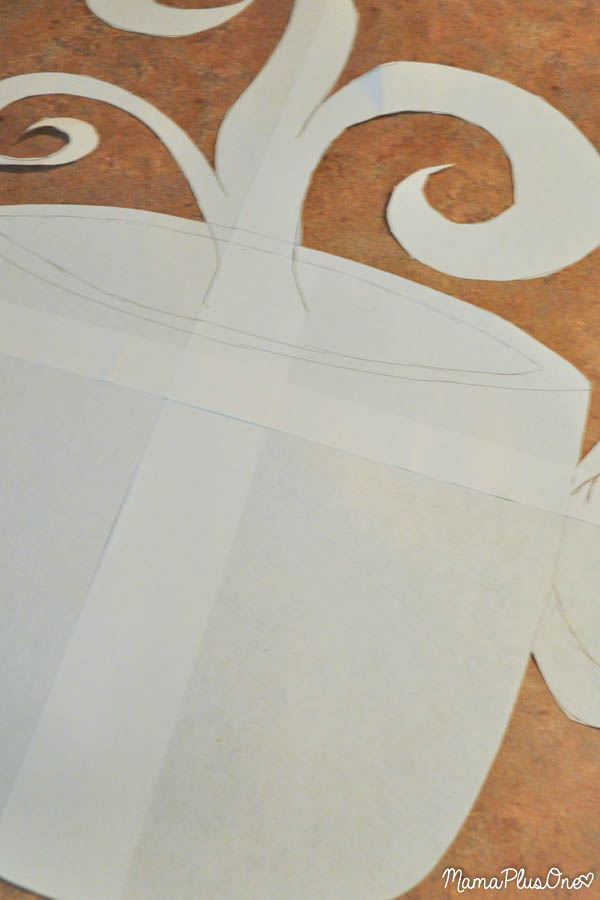
Go ahead and cut out your image, but any inner areas can be left intact for now.
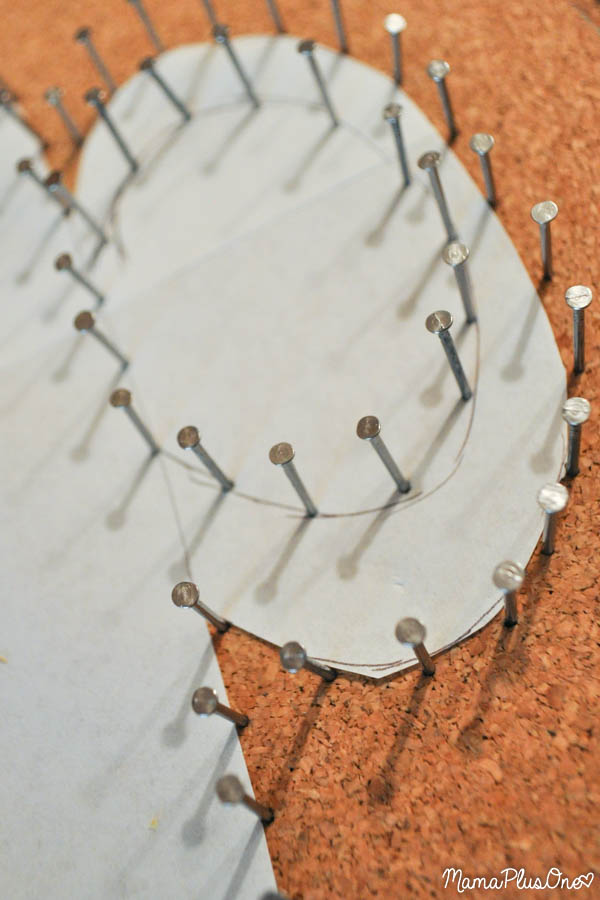
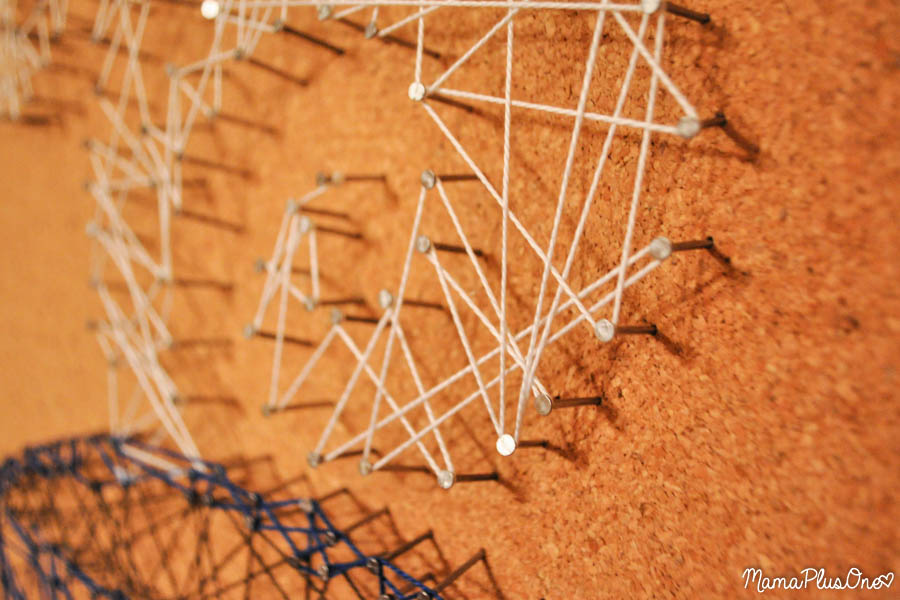
Place your template onto your back piece, and start placing your nails about an inch apart. If you have any inner areas that need nails, you can place them straight into your paper, and then remove the paper before you add string, the way I did with this coffee mug handle.
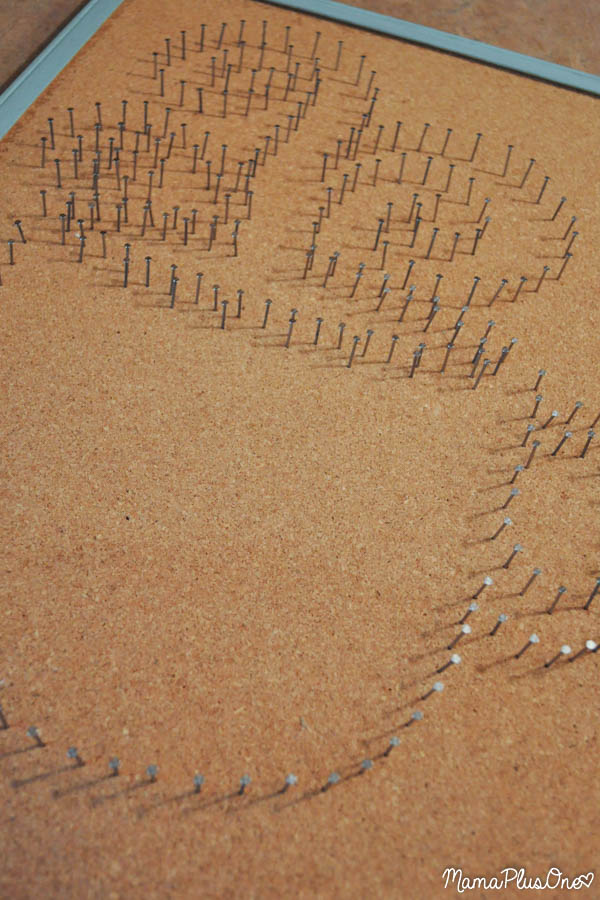
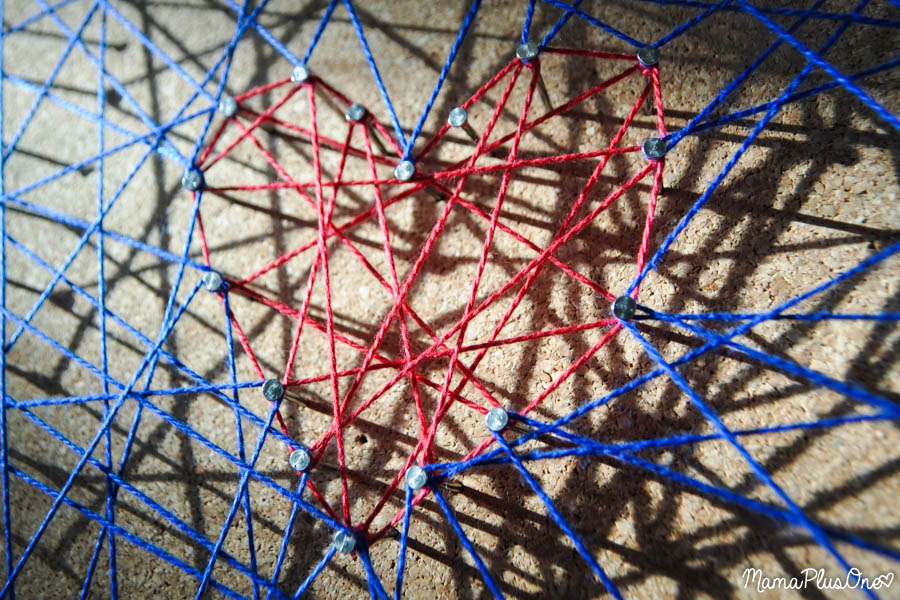
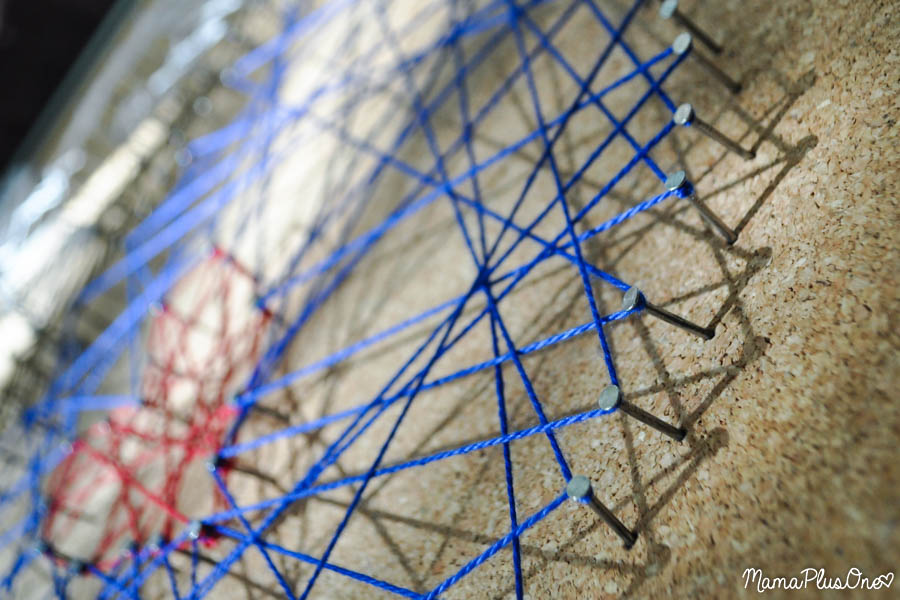
Once your nails are in place, remove the paper. You’ll be left with a really nice pattern that you’ll be able to use. I went ahead and added a free-hand heart in the middle at this point because I decided it might add interest… this is what I’m talking about when I say don’t lock yourself in! I made some great changes and it made my piece a lot prettier in the end.
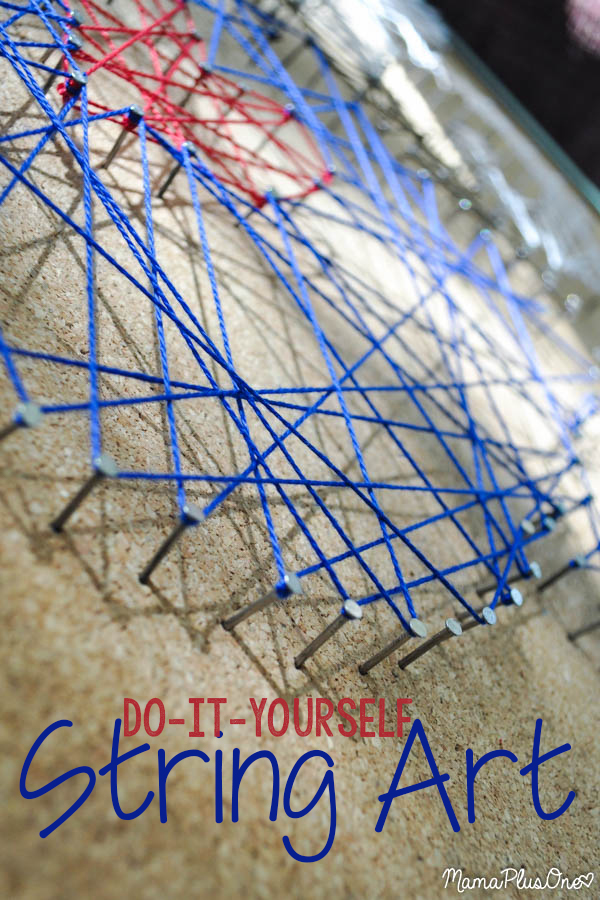
Tie your string to one nail, then slowly wrap your string around back and forth at random– sometimes upwards, sometimes downwards, sometimes straight across. The more randomly you wrap, the prettier your art will look in the end. Don’t worry too much or be too fussy about the look of it. Just do your best to get every nail string-touched.
If you want to do a second color, that’s no problem! Just tie off your string art when you’re done with that colored section (tie it to a nail) and trim any ends. Then, tie your next color to a nail and begin working across. You can even change colors mid-stream to do an ombre or rainbow effect if you’d like.
When you’re finished, you’re going to have a really nice piece. If you truly don’t like it, unwind and start again. Eventually, you’ll have a piece you like a lot!
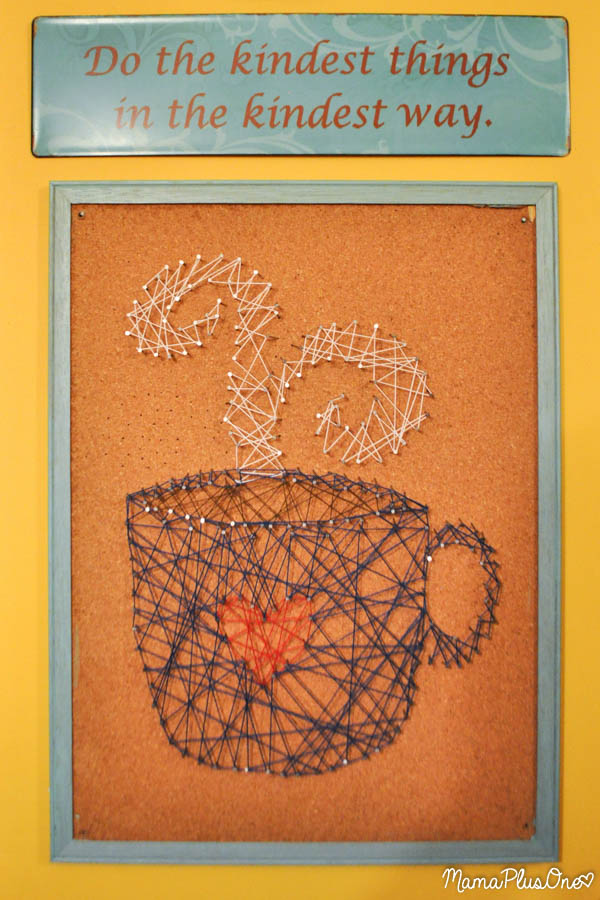
Check it out! Now, my free-hand art isn’t quite as perfect as what a great template would look like, but if you take your time, it’ll turn out perfectly. I really like the idea of having little imperfections, like this coffee mug art above.
Ta-Dah! Like I said, it’s so easy to make your own string art. I see no reason to pay $25 when, for $5 and a couple of hours (do it while you’re binge-watching a show on Netflix and it’ll feel like nothing!) you can have custom art that works perfectly in your home.
Have you made a DIY based on an idea you saw in-store? Tell me all about it in the comments below!


Wow! Great job! I am not sure my string art would turn out as well as yours did, but you have inspired me to try! At the moment each evening my hubby and I are ‘binge-watching’ “House of Cards”…so I may be able to fit something like this in too 😉
Kim recently posted…A Plea to New Moms
If you try it, I’d love to see how it turns out! Binge-watching shows are the perfect time to work on a project like this!