This DIY chalk recipe may contain affiliate links.

As a child, I remember many, many hours spent playing with chalk. There was just something fun about creating artwork for hours. I spent so many hours getting my hands and knees and elbows multicolor from sprawling on the driveway to draw. My kiddo is a big fan of chalk art, and all of his friends love it, too, so we’ve been going through a ton of it lately. I decided it was time to get creative to bring forward the most pigmented, best chalk for our money (and guess what? It’s easy to make, AND more affordable than buying boxes of chalk).
DIY Chalk Ingredients
To make your own chalk, you only need a few ingredients. You’ll probably already have the water on hand, but you’ll also need paint, plaster, and molds.
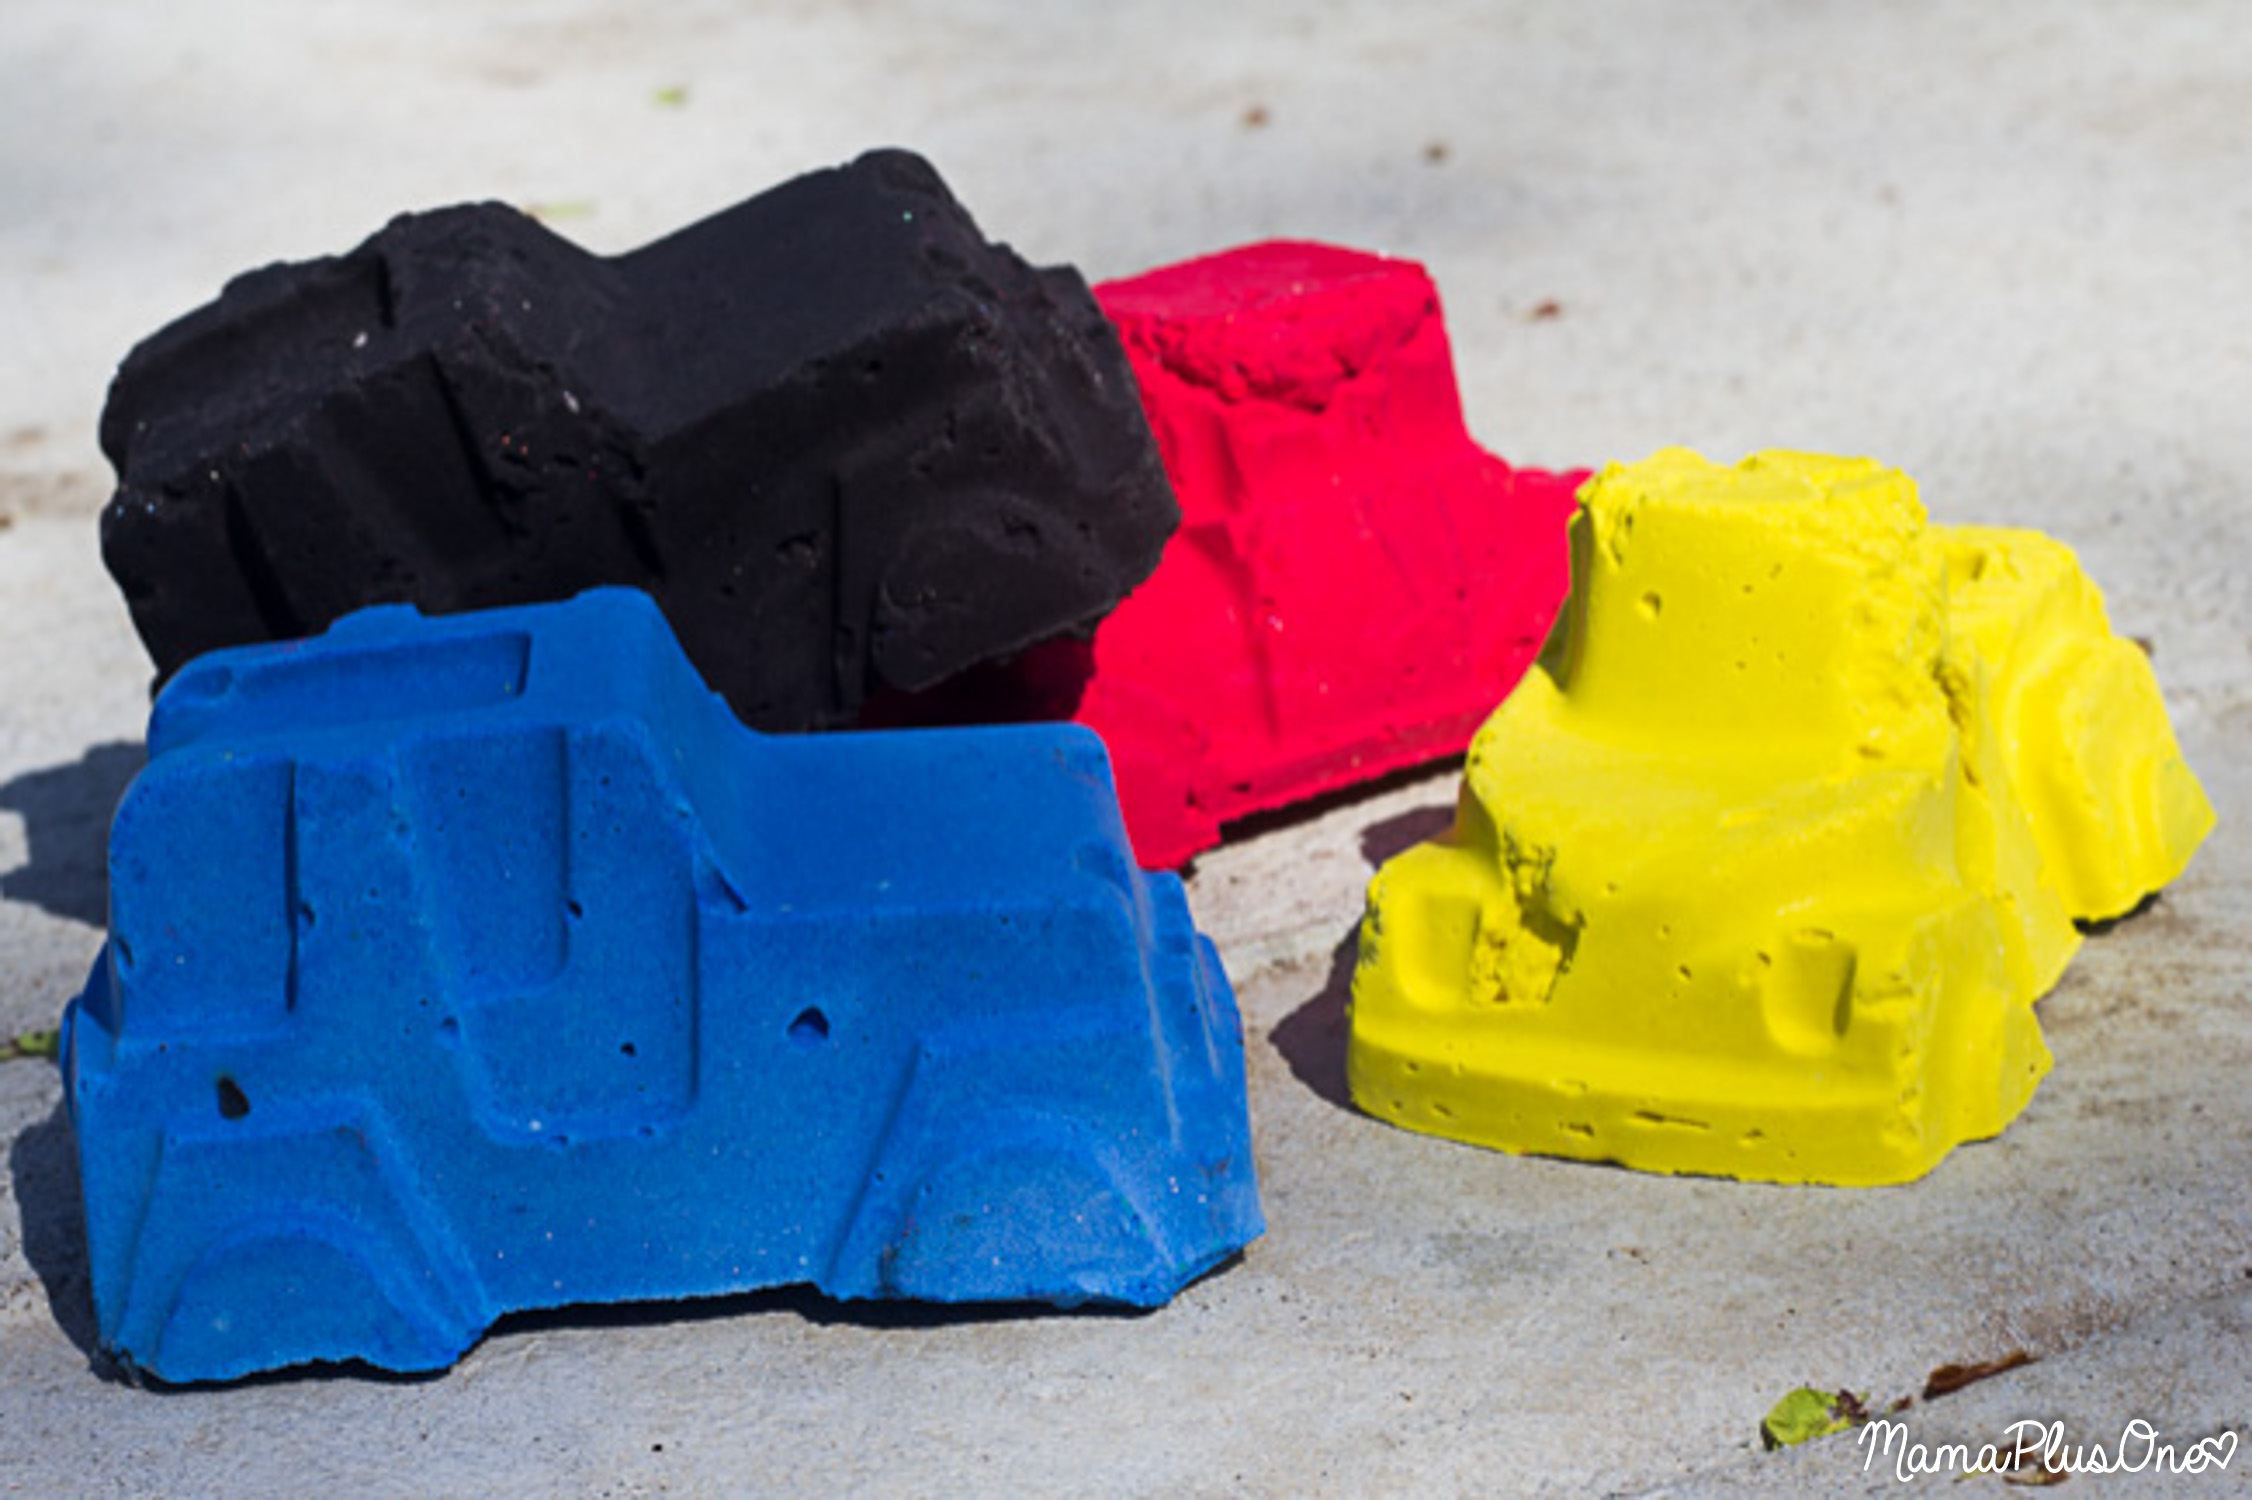
I decided to purchase a variety pack of molds because they work amazingly well for many other projects, from seed starters to DIY jelly soaps and more. The variety pack I used is showing up out of stock right now, but you can use any silicone mold. We found that the car shaped chalk was most popular with the kids in our neighborhood!
The paint is what will give the chalk it’s color, so you’ll want something vivid. You’ll also need something very washable so it won’t stain your sidewalk or patio. That’s why washable tempera paint is a winner. Tempera paint is very washable. It comes off of hands easily, too, if you have any helpers when making the chalk DIY. I like this particular pack because it gives you primary colors, as well as neutrals like white and black. This means you can really mix your own colors by mixing paints together and using white and black to lighten or darken the chalk (or using them as standalone neutral chalk colors).
Finally, you’ll need some plaster. A bucket of plaster will make a whole heck of a lot of chalk. I made 6 different colors of chalk and didn’t even use a quarter of the bucket, which is a part of what makes this chalk so affordable to make. You’ll want to use white plaster of Paris for this so it will fully take on the color of the paint you’re using.
How to Make DIY Chalk
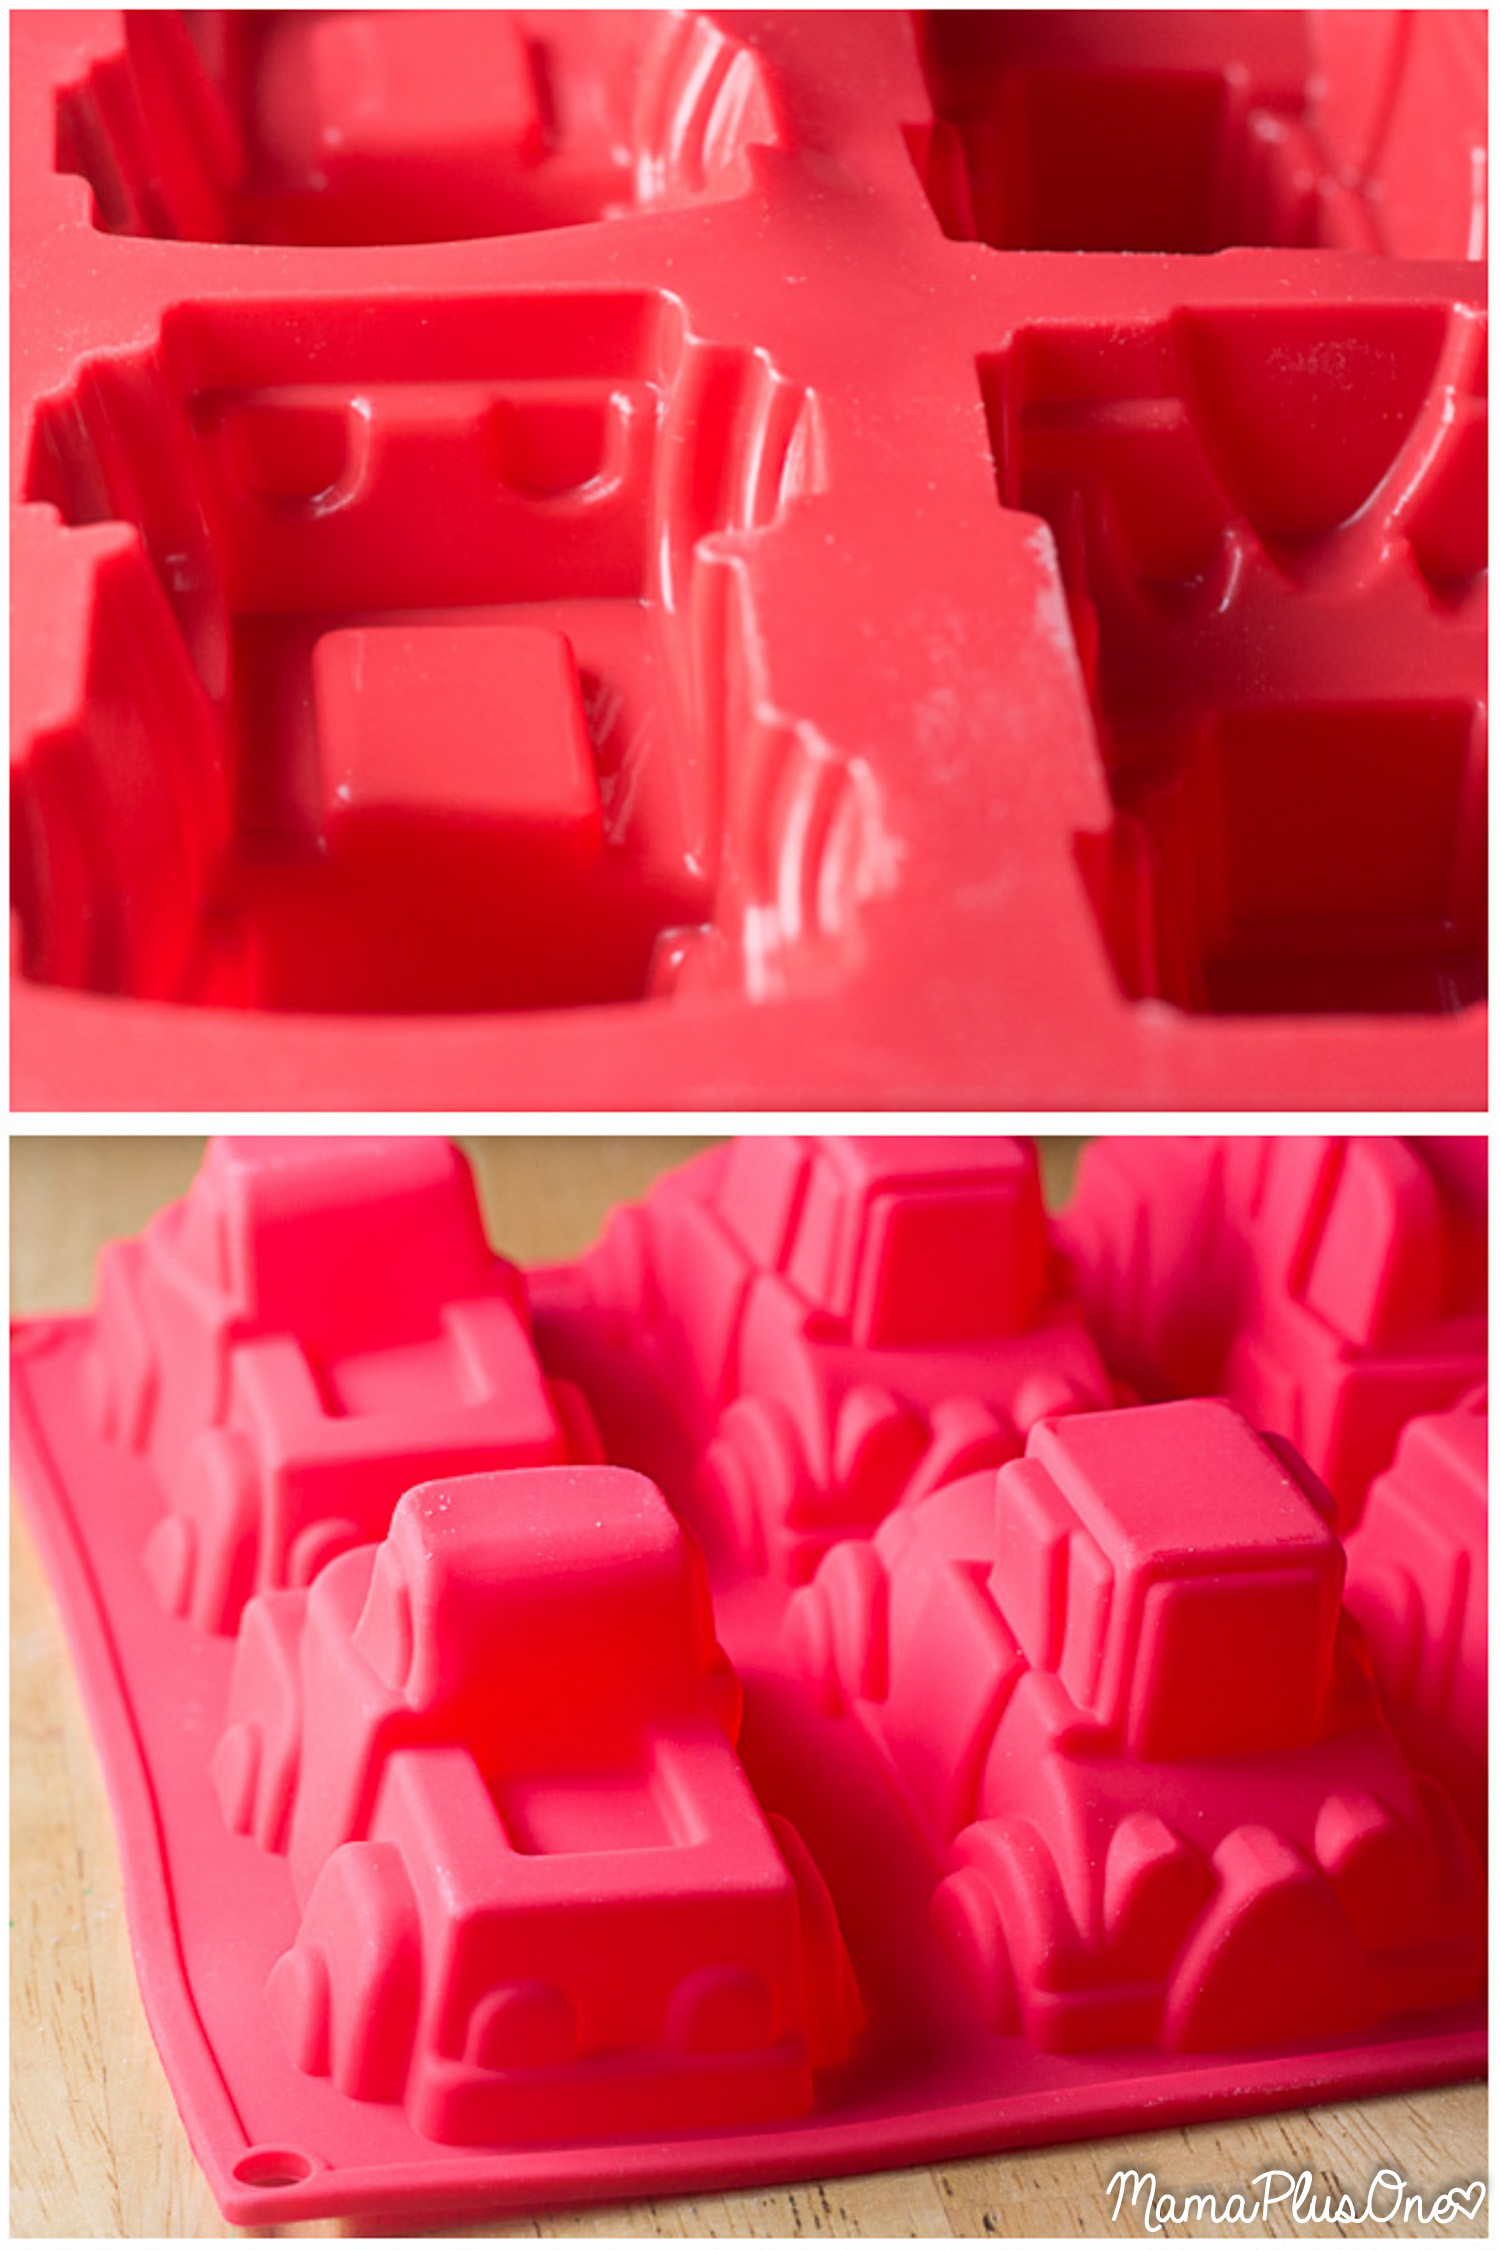
You don’t really have to do anything to prep your molds. Just ensure that you have clean, dry molds to start out with. Pick a mold in any shape your child will love. Then, be sure that you have plenty of room for plaster. We actually found that the chunky chalk was preferred by the neighborhood kids to smaller stick-like chalk because it was easier to make big pictures, like giant sunsets.
You may want to place your chalk molds on a cookie sheet for more stability if you plan to move them (like if you’re making them on a table and moving them to a countertop or outside to dry).
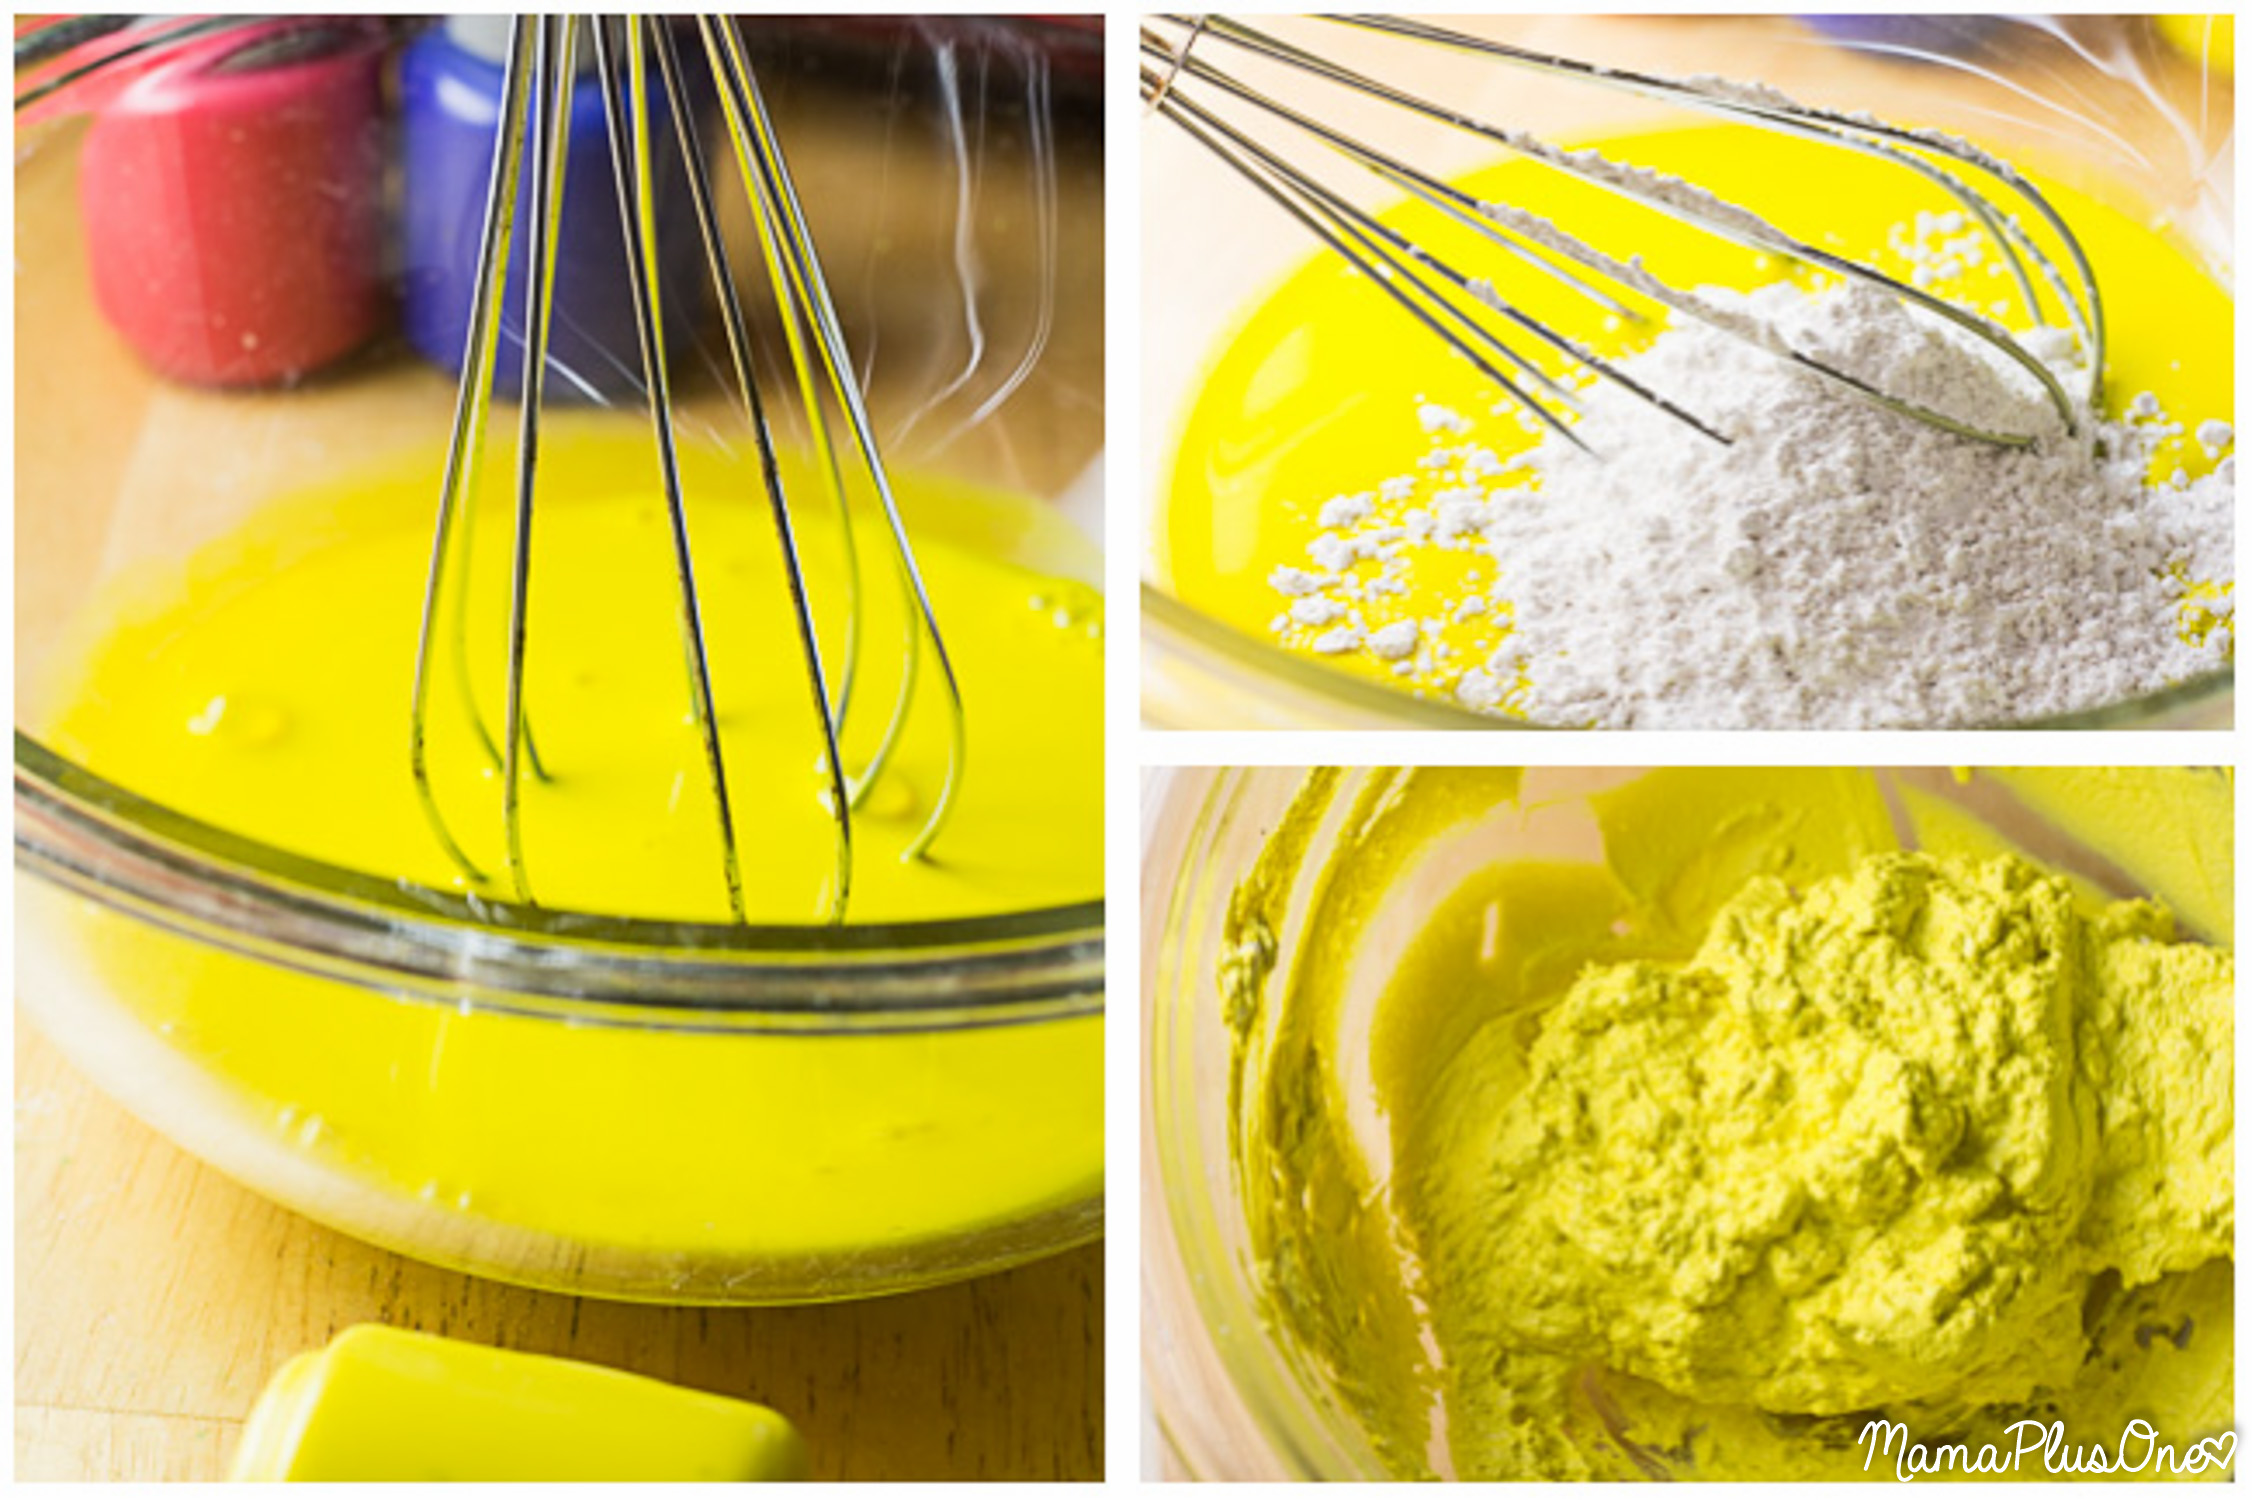
To make the chalk, start by mixing a few tablespoons of paint with some room temperature water. I used a whisk for mixing the paint color together, then switched to a spoon with the plaster. A whisk just isn’t strong enough to hold up to the plaster. I found that out the hard way!
You can use 3-5 Tablespoons of paint, increasing for more pigment or when color mixing. We found that 1/2 to 3/4 of the little bottles of paint was enough for a batch of single-color chalk, and then 1/4 to 1/2 of the little bottles of paint linked above was good when mixing to combine with another color (for colors like orange, green, and purple).
Add in 3/4 cups of plaster, and then mix it well. Once it’s well-combined, you’ll be able to put it in the mold.
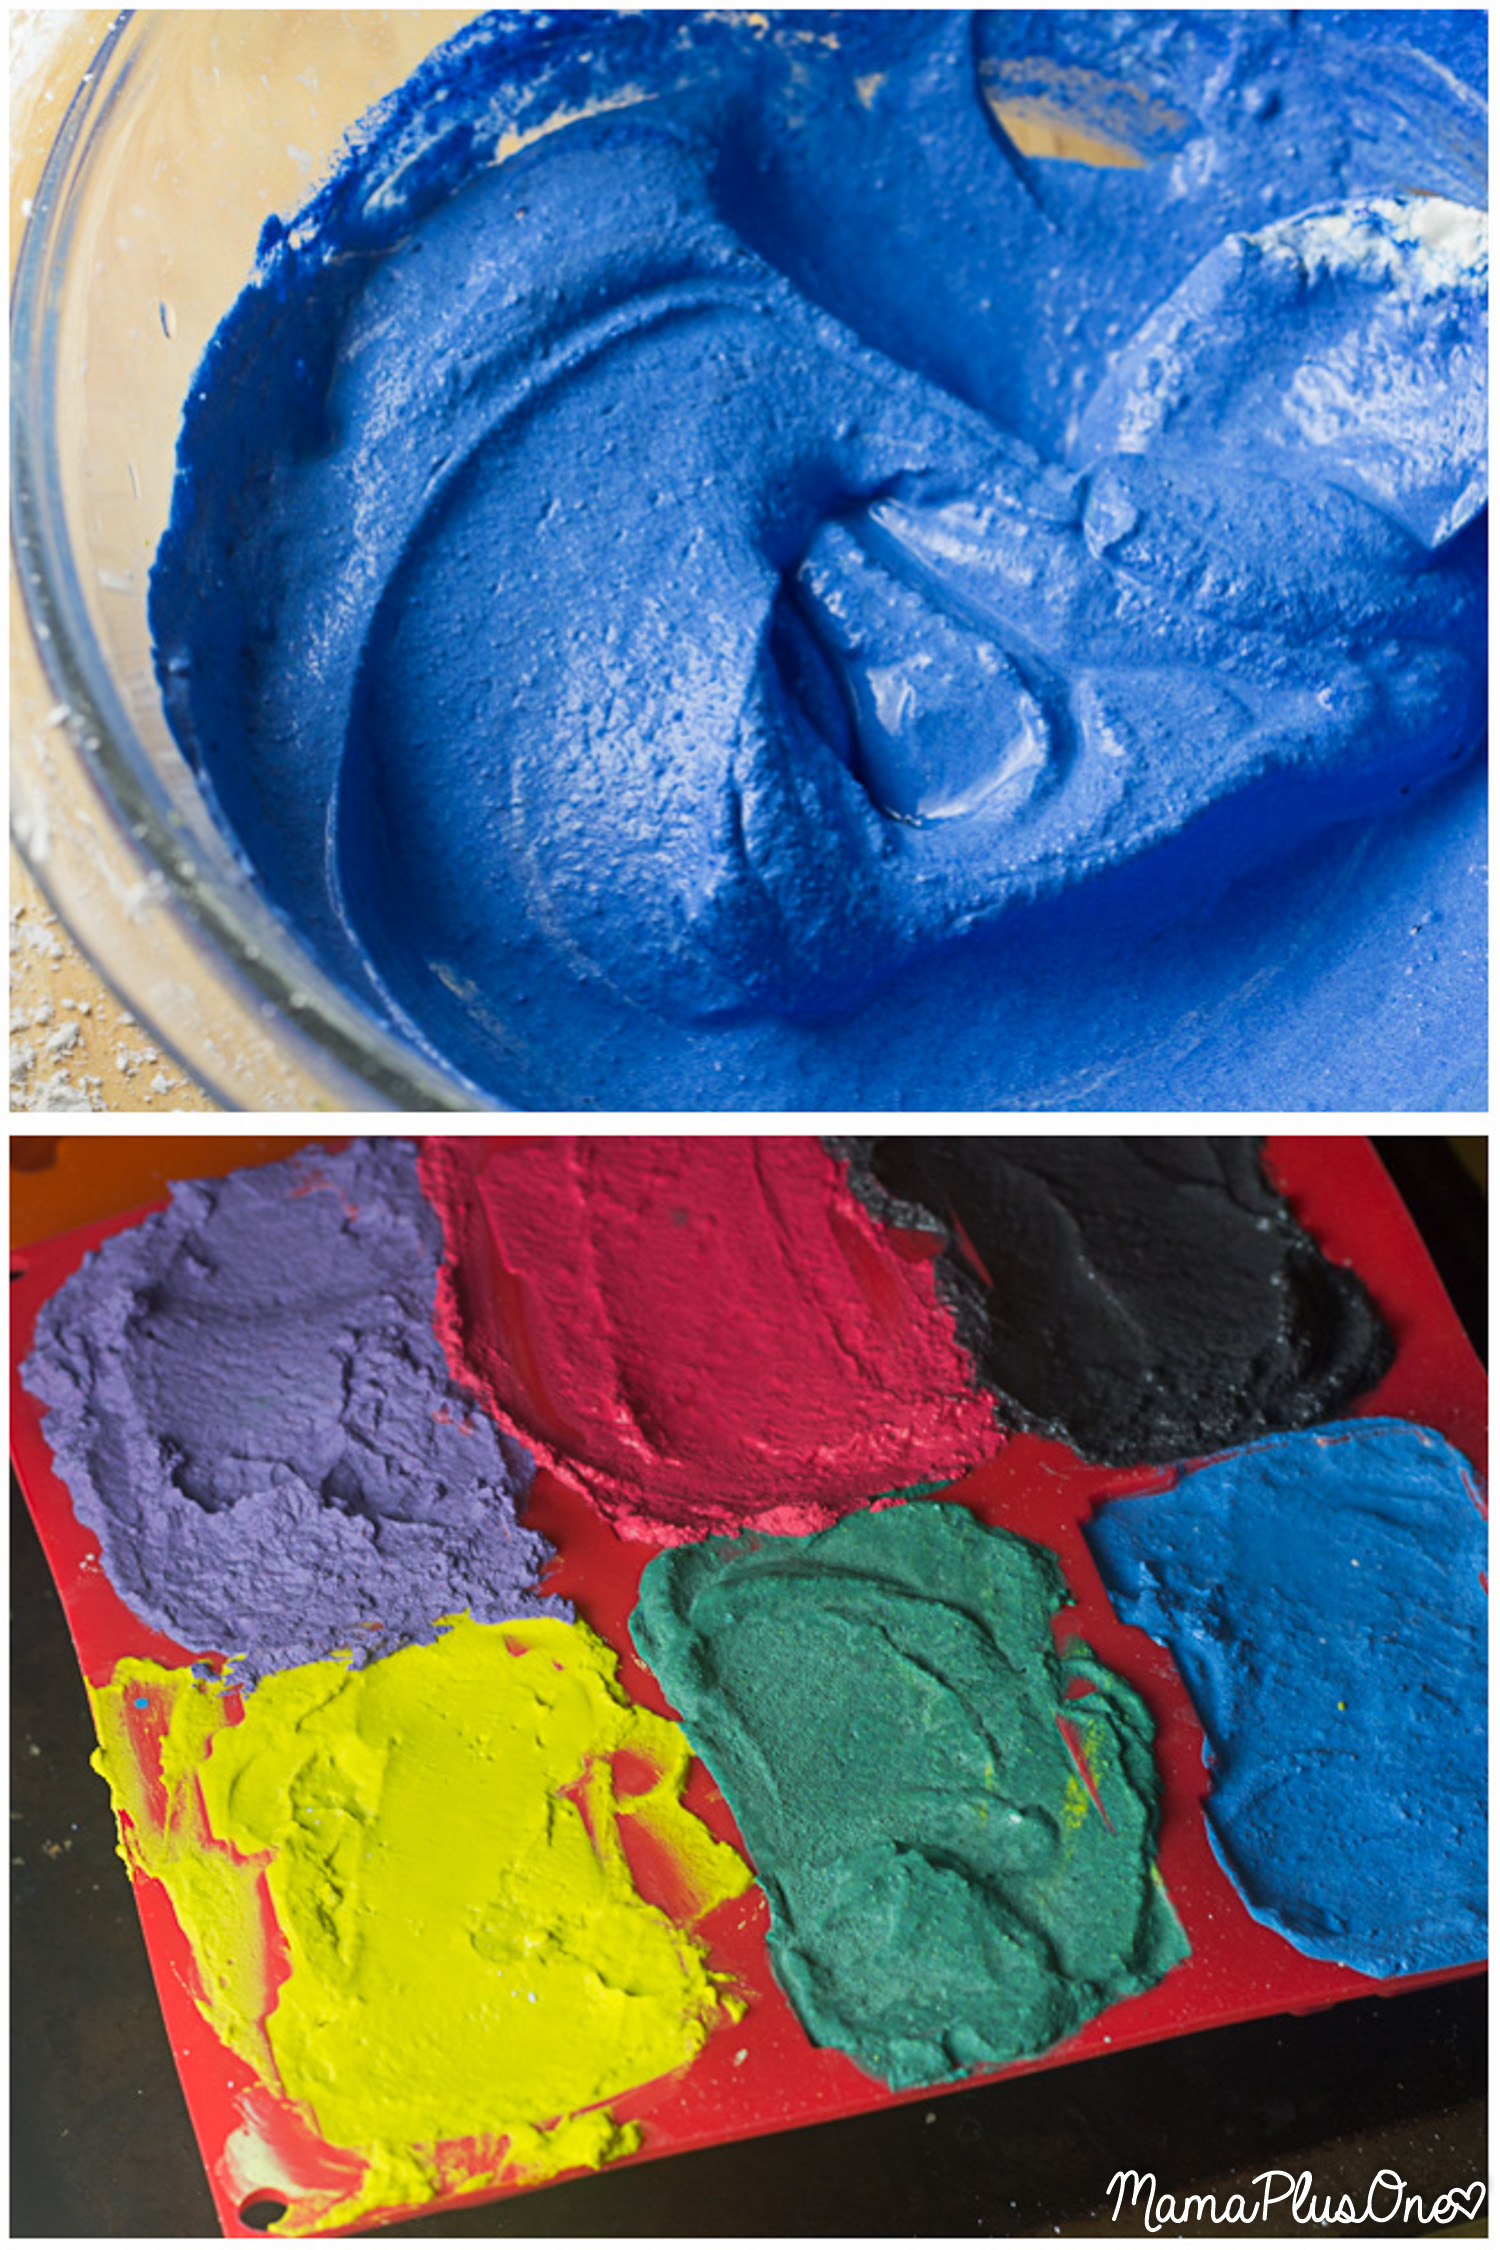
You can play around with consistency to get the perfect texture of chalk, too. Chalk using less water, like our yellow and purple chalk, was sturdier when coloring with. The sturdiness is especially noticeable when using thinner pieces of chalk. However, the pieces didn’t show as much detail, especially in smaller crevices of the large pieces. Chalk with more water, like the blue, captured more detail. However, it took longer to dry and was much softer during drawing. Play with the texture to get it where you want it, but we found that anything between a scant 1/2 cup to about 5/8 cups worked really well.
Fill your molds completely full, set them aside, and allow them to dry for at least 24 hours before you remove them from the mold, especially for extra thick pieces, like cars. If you used a thinner chalk mixture, you may want to give them an extra day or two of dry time outside of the mold before you use it.
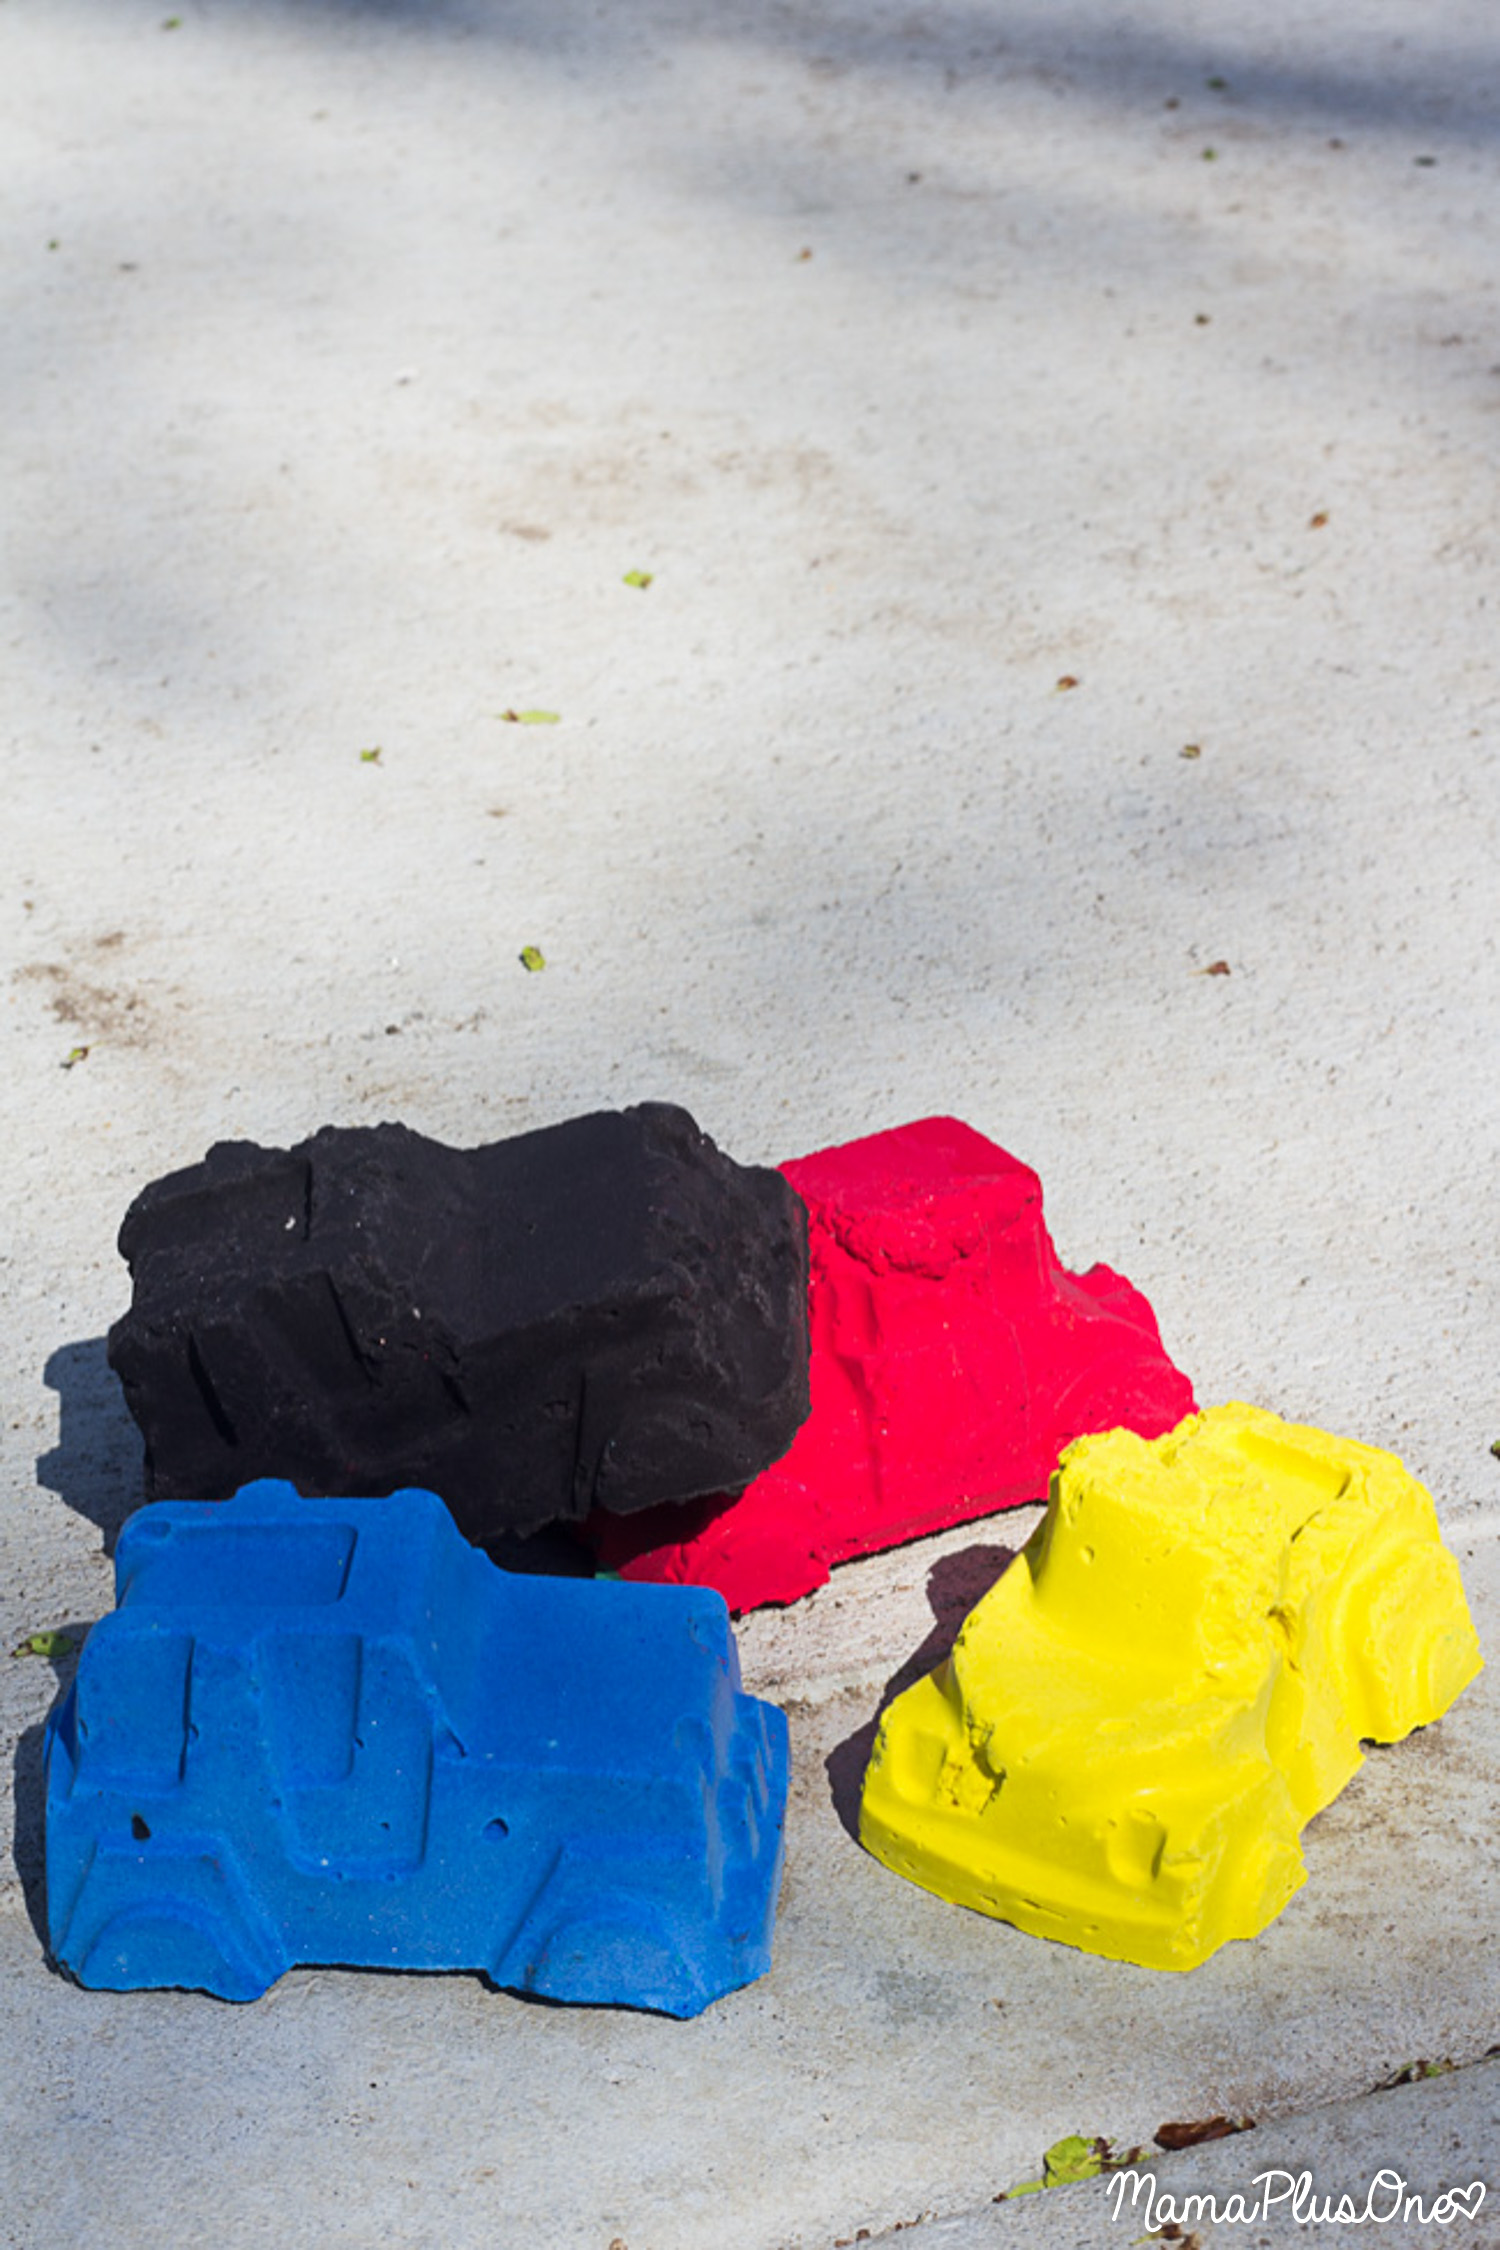
Our DIY chalk turned out really well and had some super vibrant colors. We even played with two-tone chalks in some of our other molds, layering it half full with one color and half full with another. As you can see, the thinner mixture really did pull every detail of the shape from the molds.
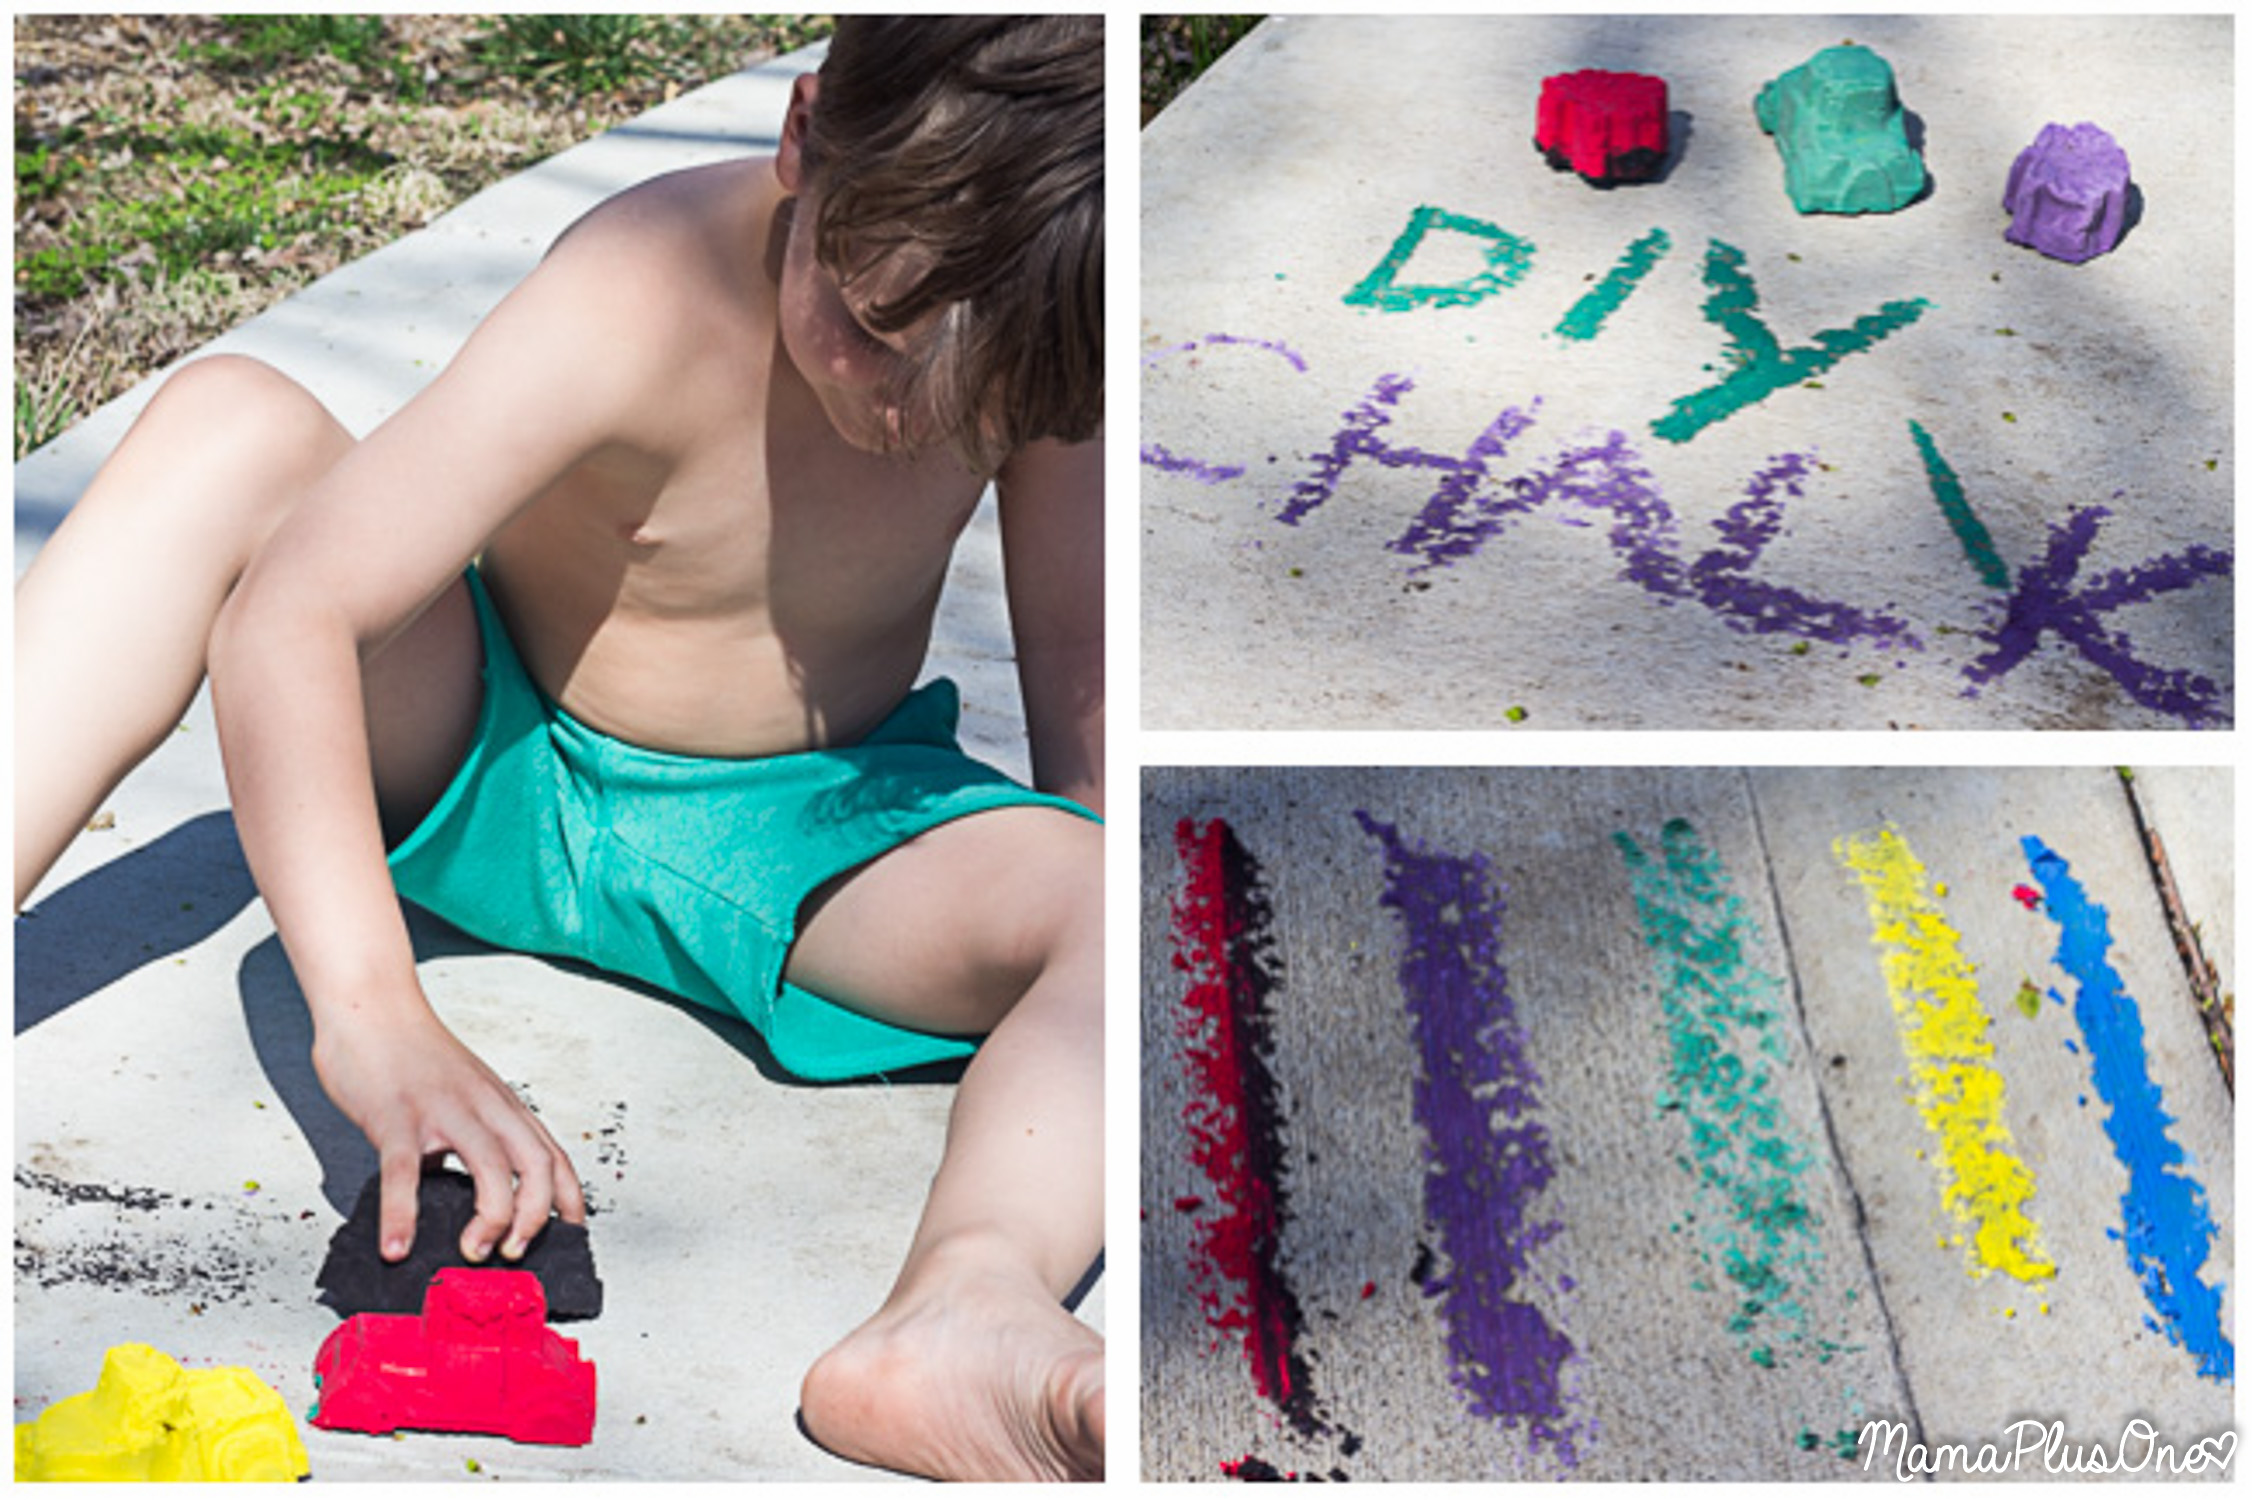
The color payoff is extraordinary, and we tested these before a rain to make sure they’d wash off just fine… we saw no problems with them washing off at all! A nice rain or a quick spray of the garden hose and your kids will be all set to create another fun masterpiece.
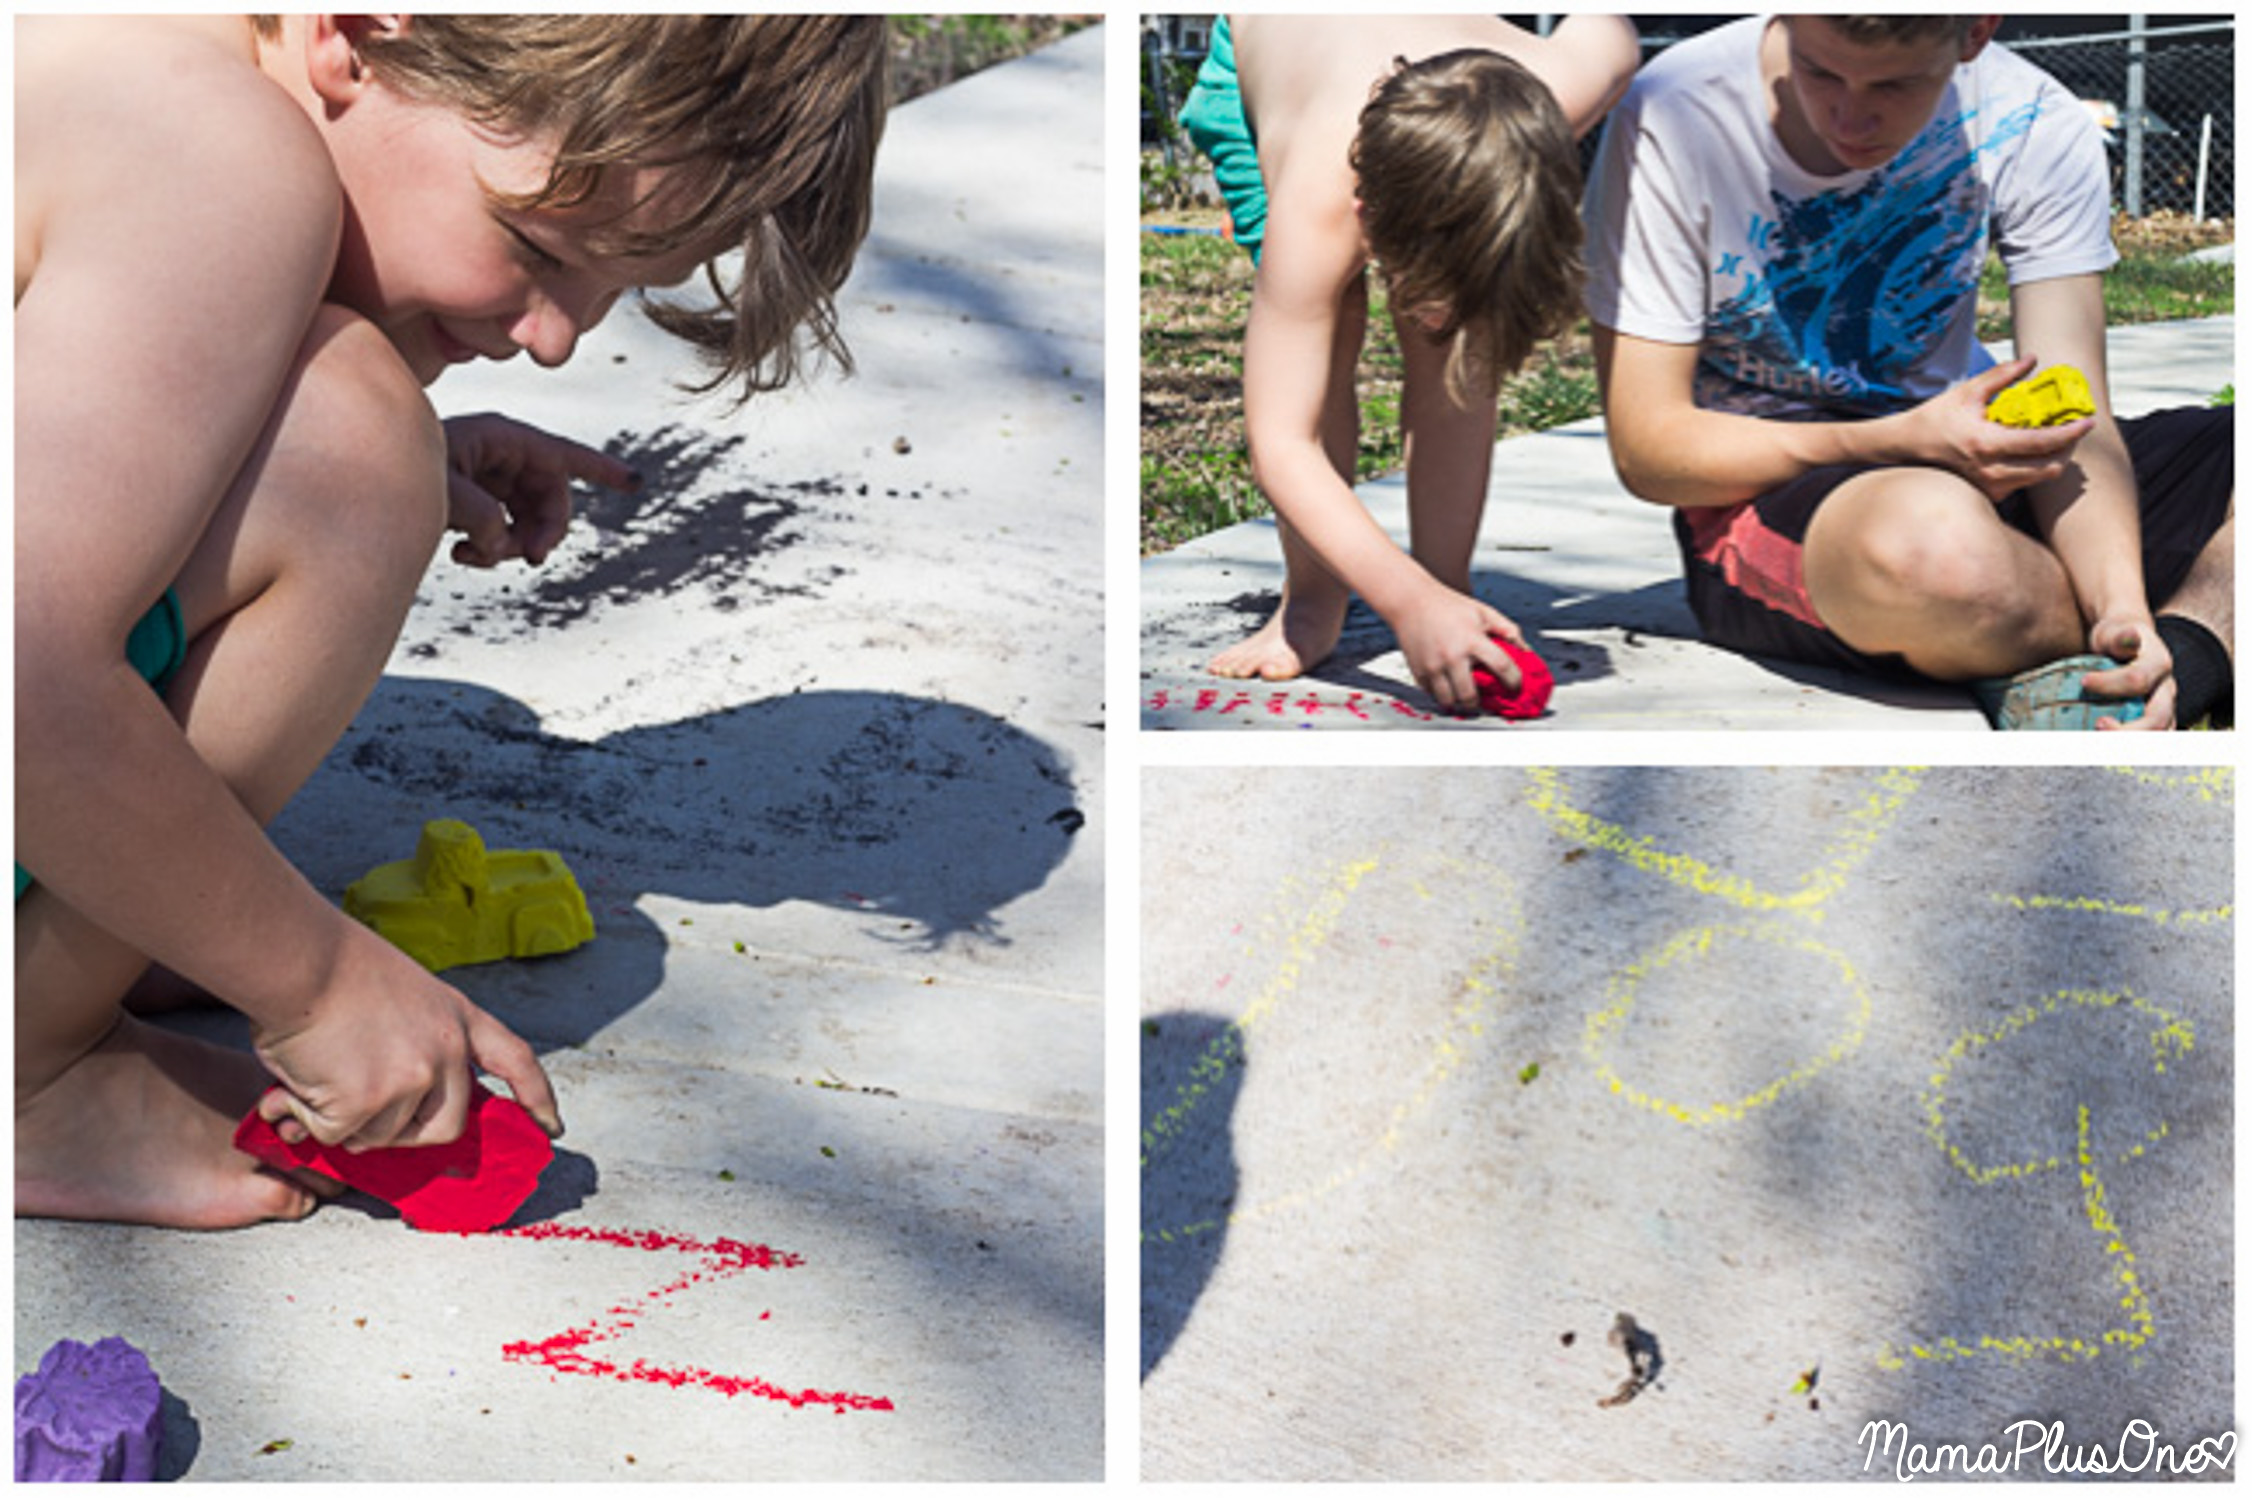
The DIY chalk was tons of fun for kids of all ages, and honestly, it was great for practicing sight words and simple addition as well as creating fun artwork. There were definitely no limits with this chalk!
Have you ever made your own DIY chalk?
Let us know all about it in the comments below, and tell us what your favorite color of the chalk we made was. Don’t forget to scroll down for the full, printable version of this DIY chalk recipe at the bottom of the page.
Fun Ideas of Ways to Play With Chalk
DIY Obstacle Course (Using ONLY Chalk!)
Chalk-Rubbed Sand Art at Home
Chalkboard Cake Pops from PintSizedBaker
More Summer DIYs your Kids will Love
DIY Colorful Bubbles
Unicorn Kinetic Sand
Recycled DIY Sailboats out of Recycled Sunny D Containers
Tissue Paper Suncatchers
20 Fun Outdoor Party Games from It Is a Keeper
Summer Treats for Summer Fun
Cherry Limeade Bars
Kiwi Lime Mocktails
Easy Fruit Salsa
Chocolate Granola Starfish from CakeWhiz
DIY Chalk Recipe
- 3-5 Tbsp washable tempera paint
- 1/2 C water (scant 1/2 C to 5/8 C, depending on preference)
- 3/4 C plaster of Paris
- Silicone molds in various shapes
- Mix tempera paint and water. Get creative and mix colors to create new colors as needed.
- Add plaster of paris to water mixture.
- Pour into silicone molds and tap gently to release air bubbles.
- Repeat with more colors as desired to make a rainbow of sidewalk chalk.

